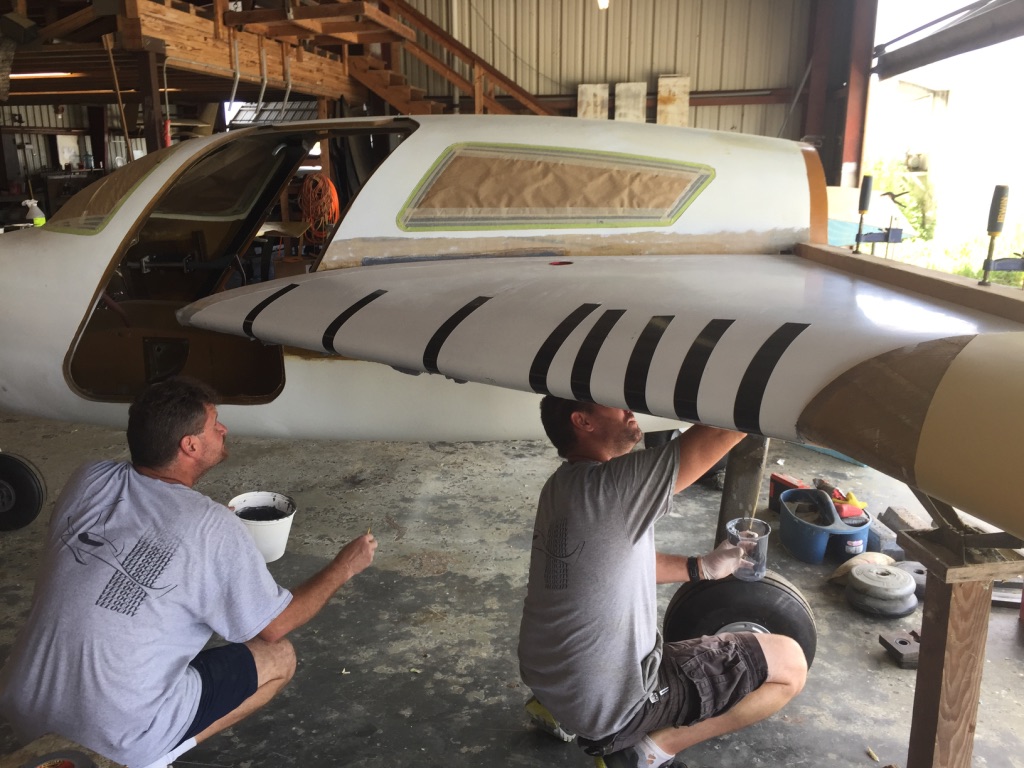
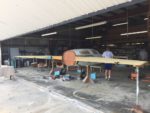
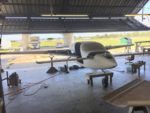
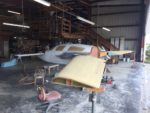
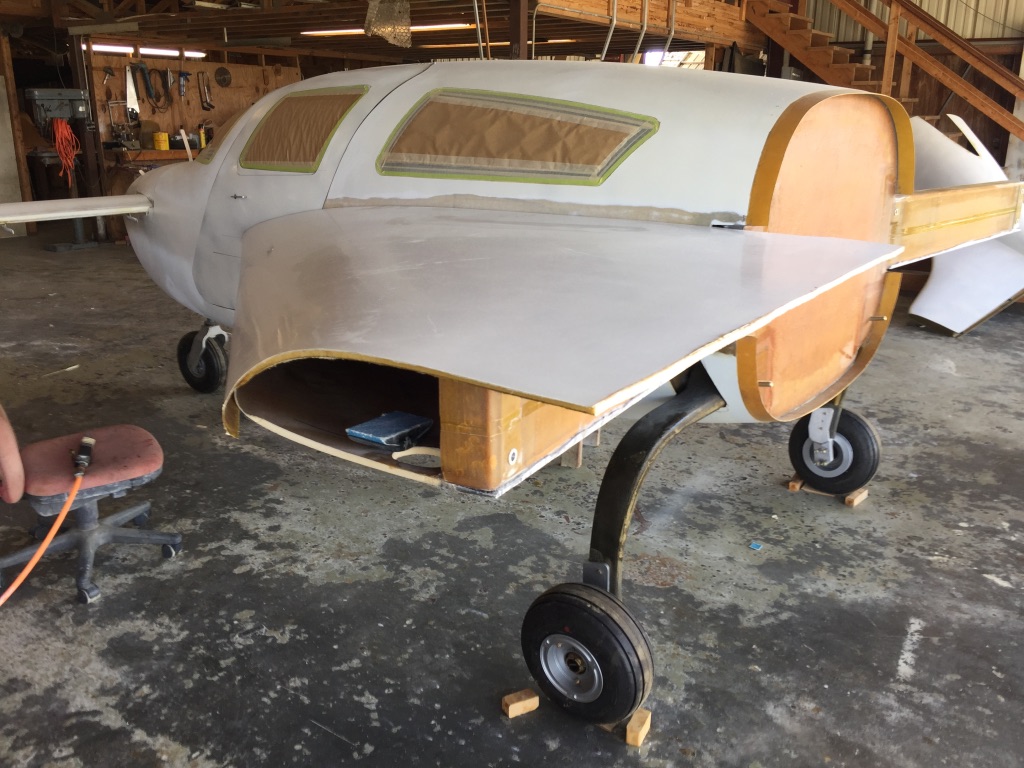
You begin in the “Build Center”. This is the main, older hangar on the west side of the airport. It’s also where the office is located.
As the twin is a fast build kit, Chad and Dave will have already assembled such items as the fuselage, wings, canard, elevators, ailerons, and so on. They will have placed it on the landing gear and will have also installed the windshield and the windows, among other things. (You can check with the factory for a complete list of all the fast build items.) So all of that is big start.
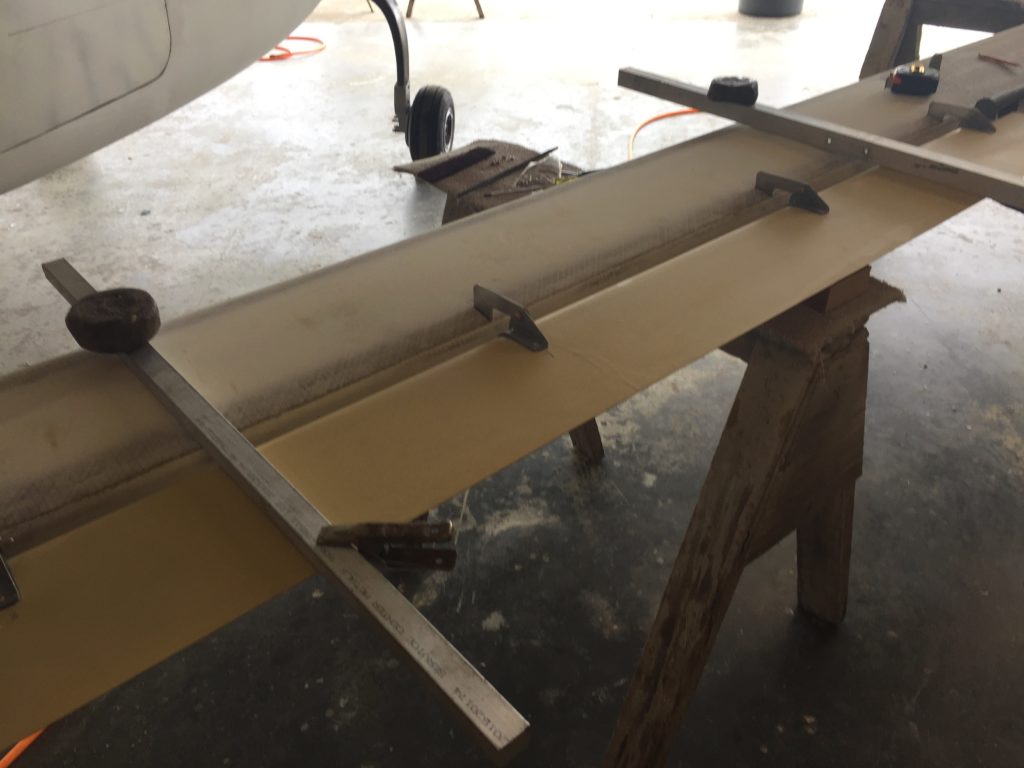
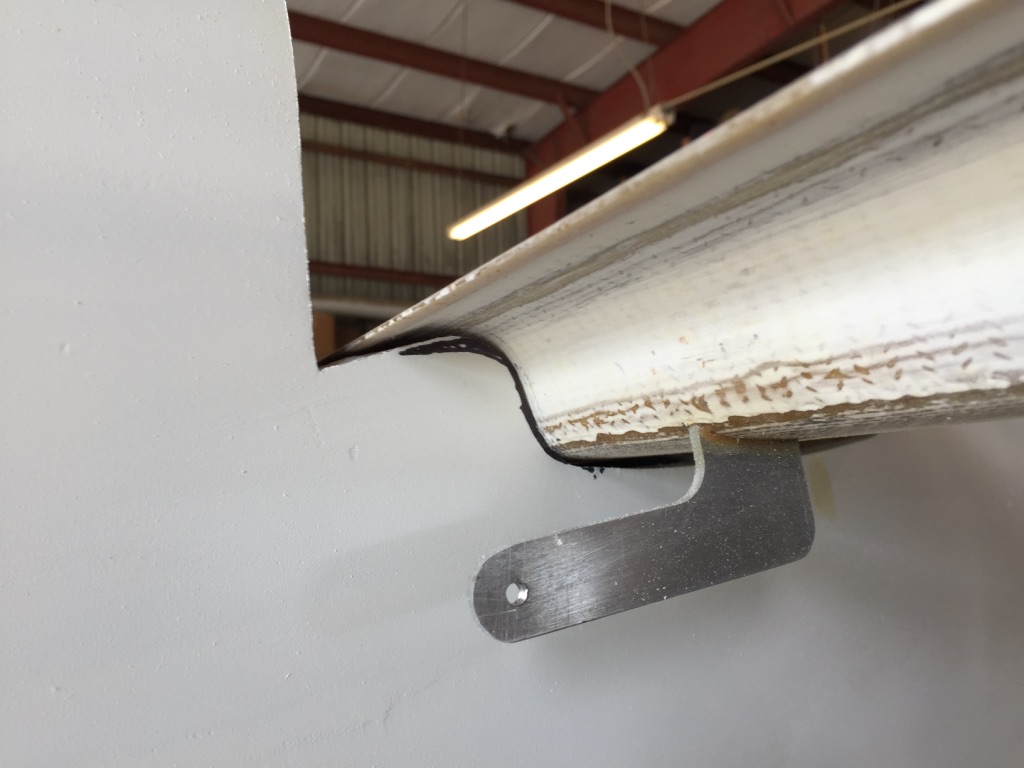
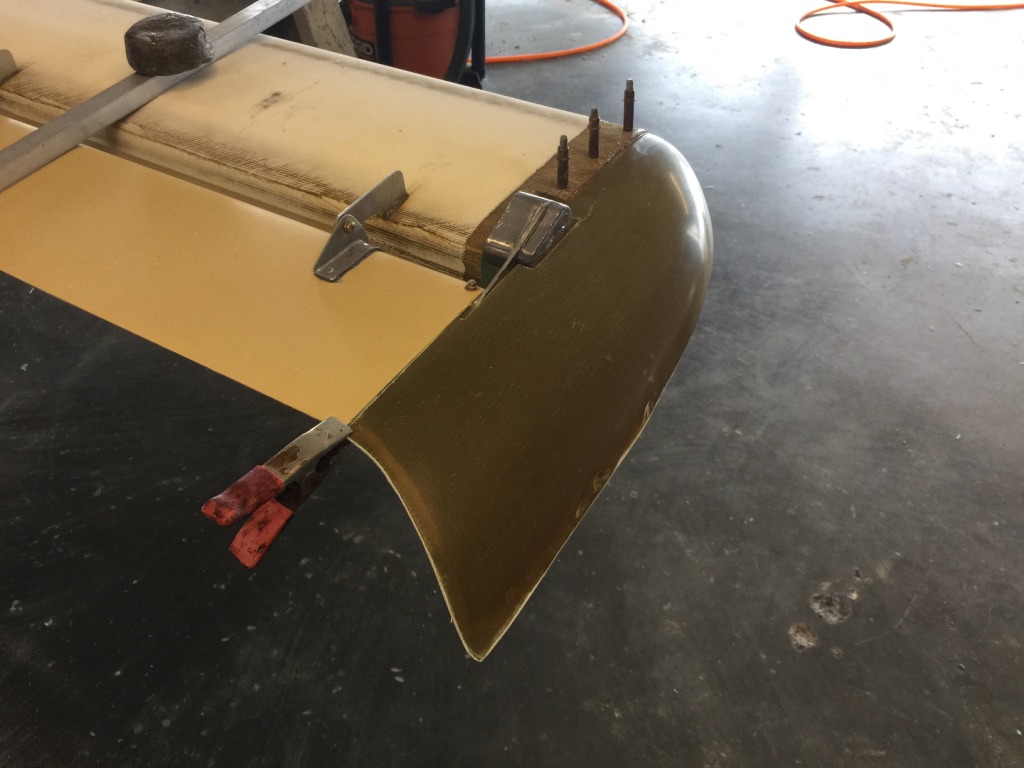
The build typically begins with such things as mounting the elevators on the canard. You would start by installing and aligning the mounting brackets. Don’t worry, Chad has done this hundreds of times. He will show you exactly how to do it, then let you get to it. He has pre-made patterns, fixtures, alignment devices, etc. to help you rapidly complete each task. Like I said, he’s done it all before.
Other tasks that will typically be accomplished in the first couple weeks include mounting the ailerons, assembling the seats, installing the seat mount hard points, making the sump tank and installing it, mounting and aligning the canard, and installing the “dog house”. There are also a good number of reinforcing glass layups that will be added to the front bulkheads and the rear bulkheads for the landing gear.
If you continue building at the Build Center, before you leave for the next phase – the Completion Center – you will typically have finished such items as the Landing Gear (hydraulic pump, hydraulic lines, controller box, brakes), installing the Oxygen bottle mounting brackets (optional), the nose gear guides, the nose gear door closing mechanism, battery mount, the throttle quadrant, finish out the rudder, aft lower access door, aft cargo door, nose access door, fuel sending units, fuel quantity view ports (optional), brakes, parking brake (optional), electric heaters (optional) (or the truck diesel heater), master relay, external power point(optional), seats, canard, canard tips, elevators, side sticks, winglets, upper and lower engine cowlings, engine firewalls, jack points (optional), etc.
I did all of of the optional items, and more. In fact, I was the first to install a built-in oxygen system, install air conditioning, and an electric heater system. I also installed a pair of LED lights in the canards and a camera mount in the top of the vertical stabilizer, among other things.
If you would like to learn about all the extra features that I built into my V-Twin, then click on the menu item Ron’s V-Twin where I describe each of these upgrades in some detail.
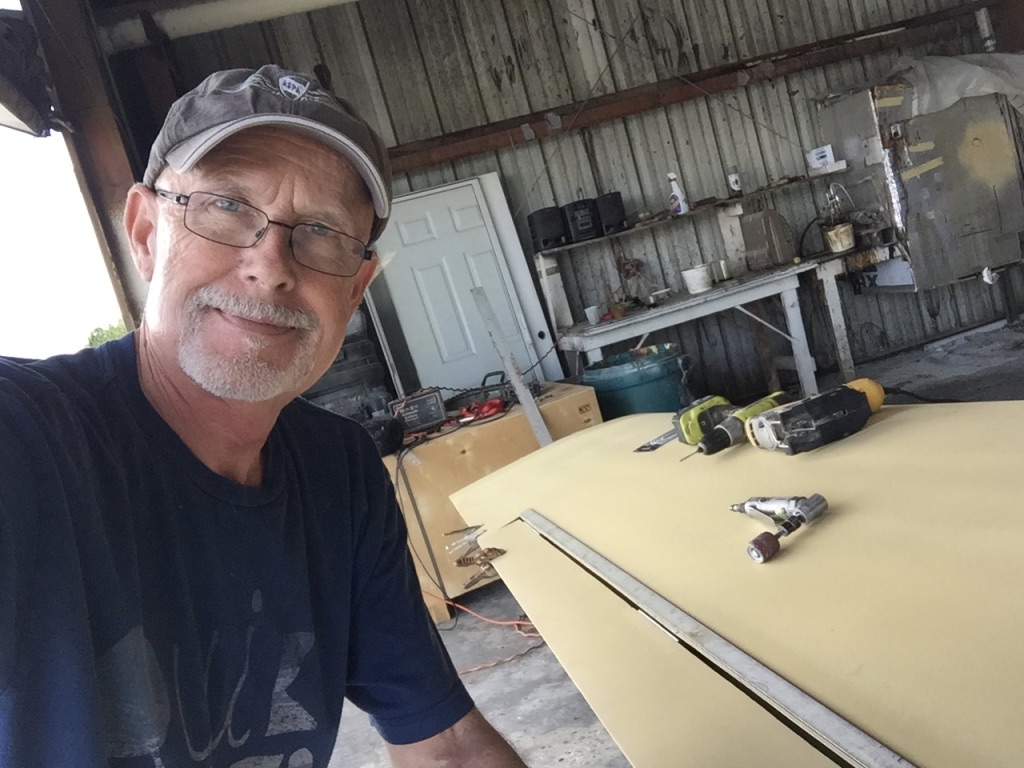
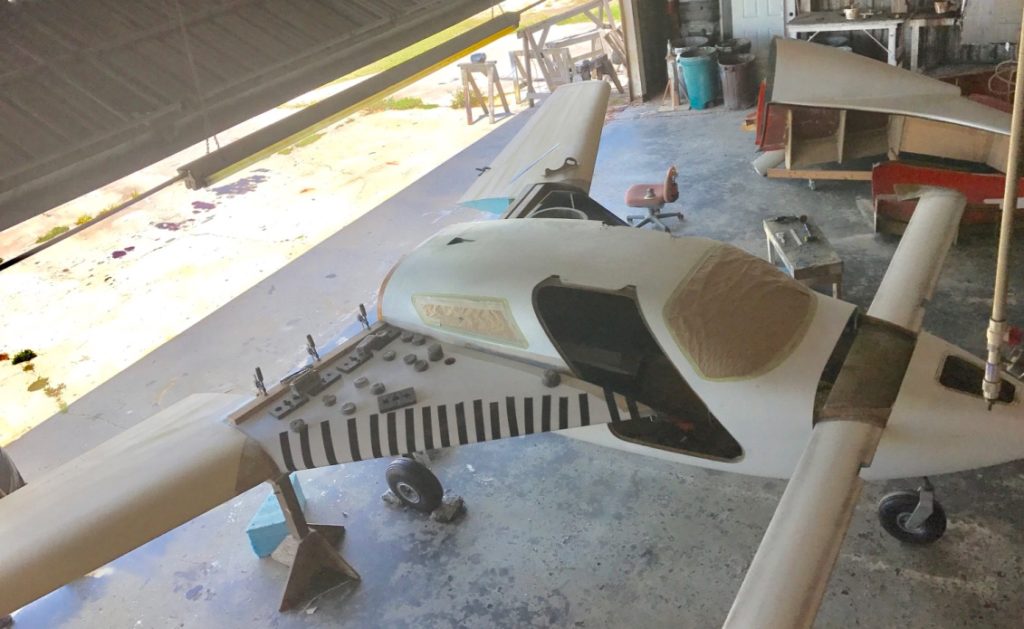
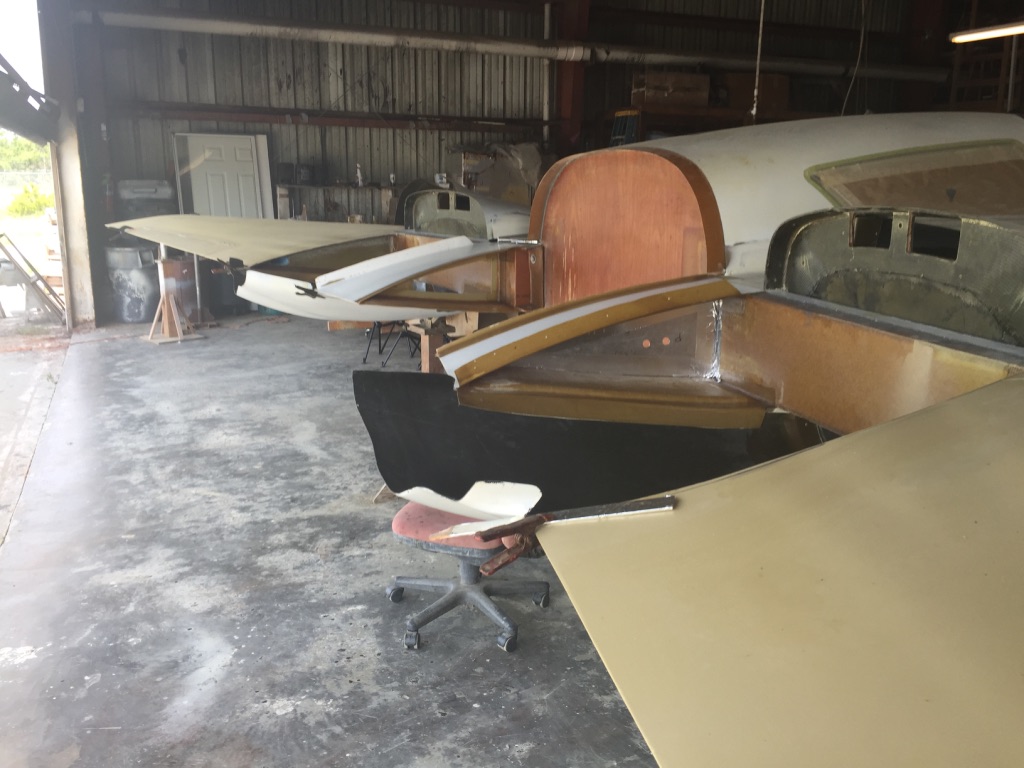
If you peruse the following pictures, you will get an idea of the kinds of things that are accomplished in the Build Center. While pictures are worth a thousand words, I don’t include enough to document each and every task. There are several well-done Velocity builder sites. I have added links in the “More ..” section.
Finally, don’t be daunted by all the pictures. “So many tasks! So much to do. Man, building this airplane looks like it is really hard!”
No, not really. None of these tasks are all that difficult. Yes, they do take time. If you have no airplane building experience, you can still succeed. You will learn a lot in your Head Start program. Of course, if you choose to finish the project at the factory, you will have all the technical assistance that you might need. If you take it home to finish, the factory is still there to help. There is lot’s of information in the build manual. And there are lot’s of other builders who will be happy to help.
Don’t be discouraged. You can do it!
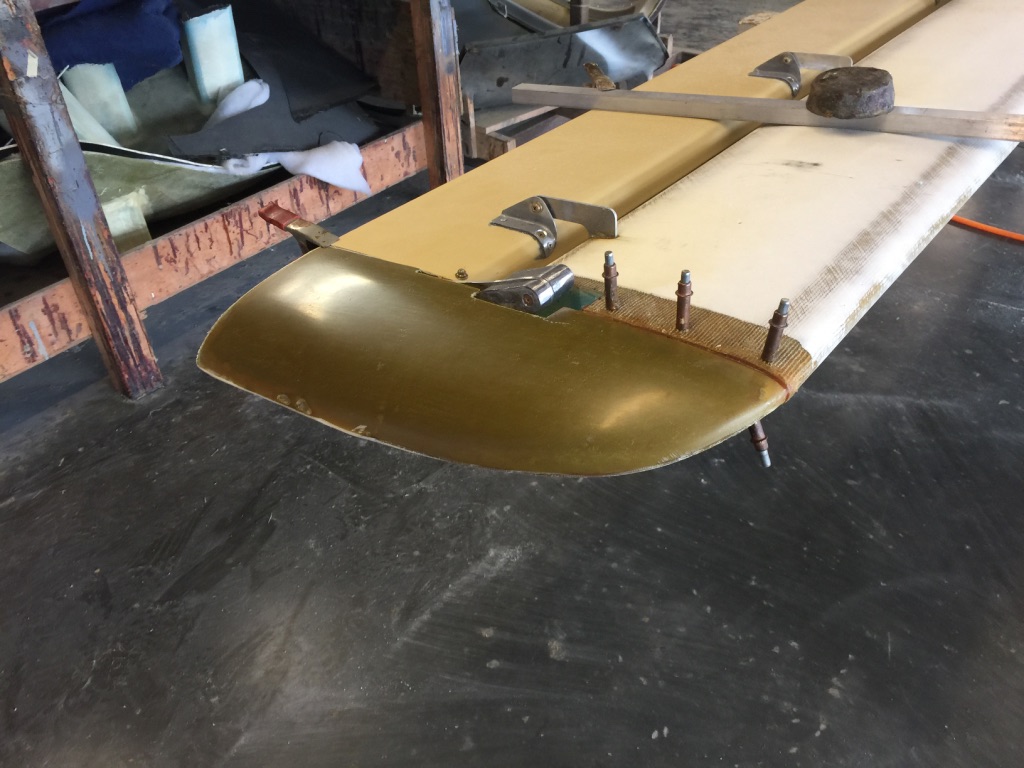
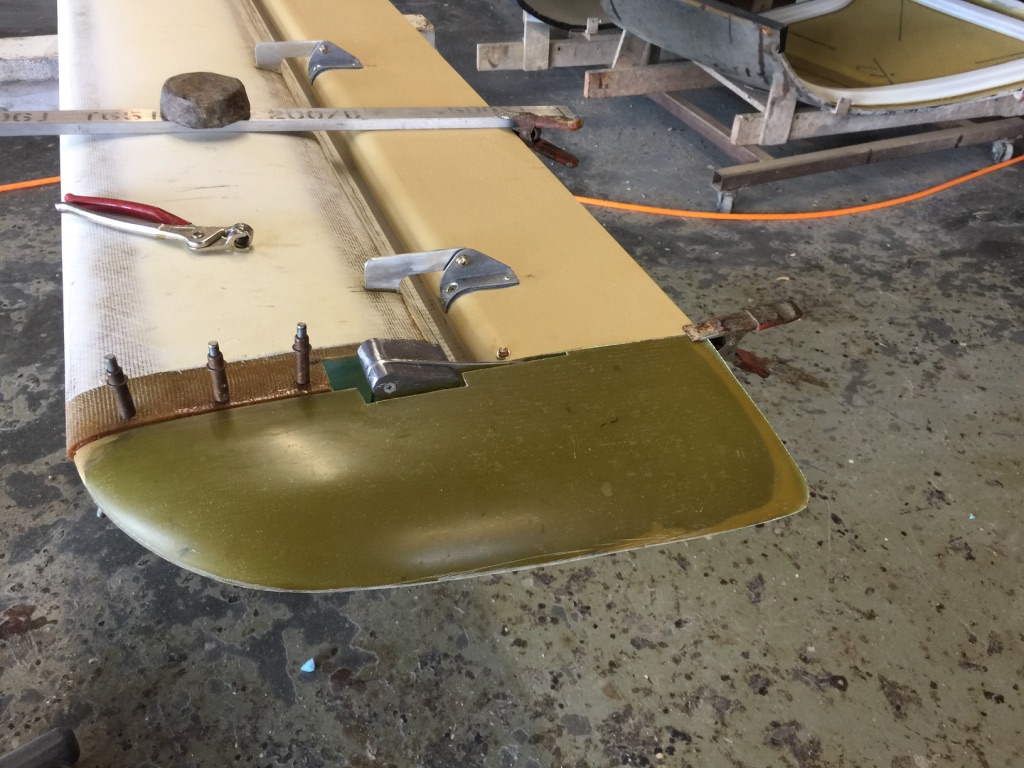
Installing the elevator
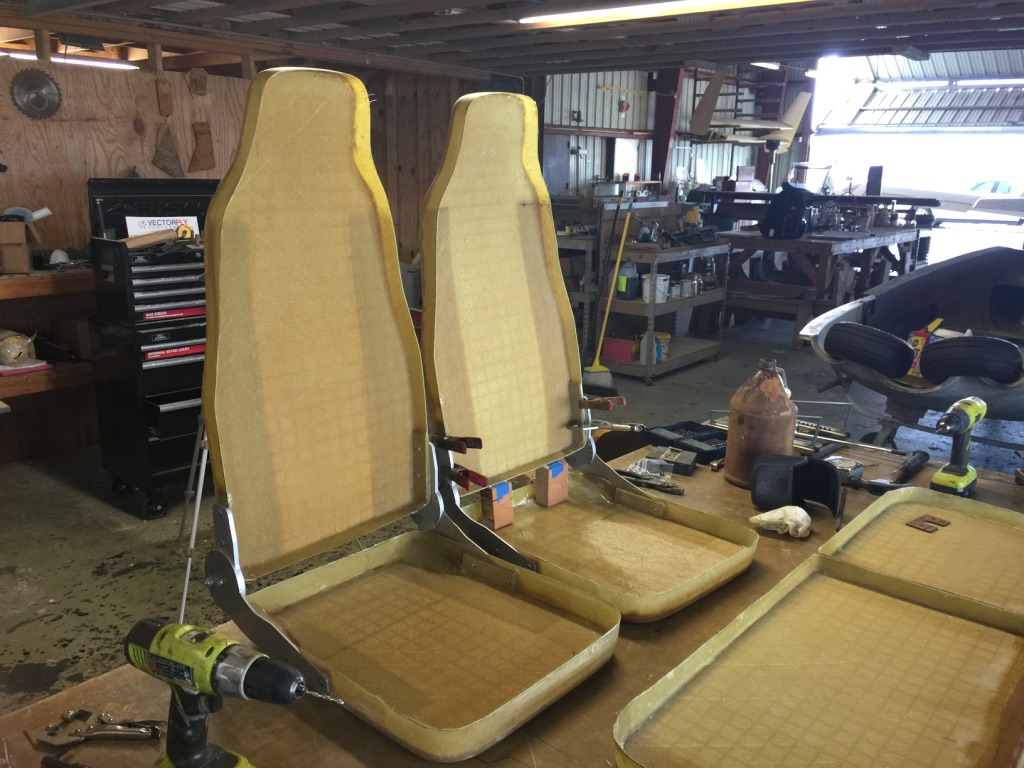


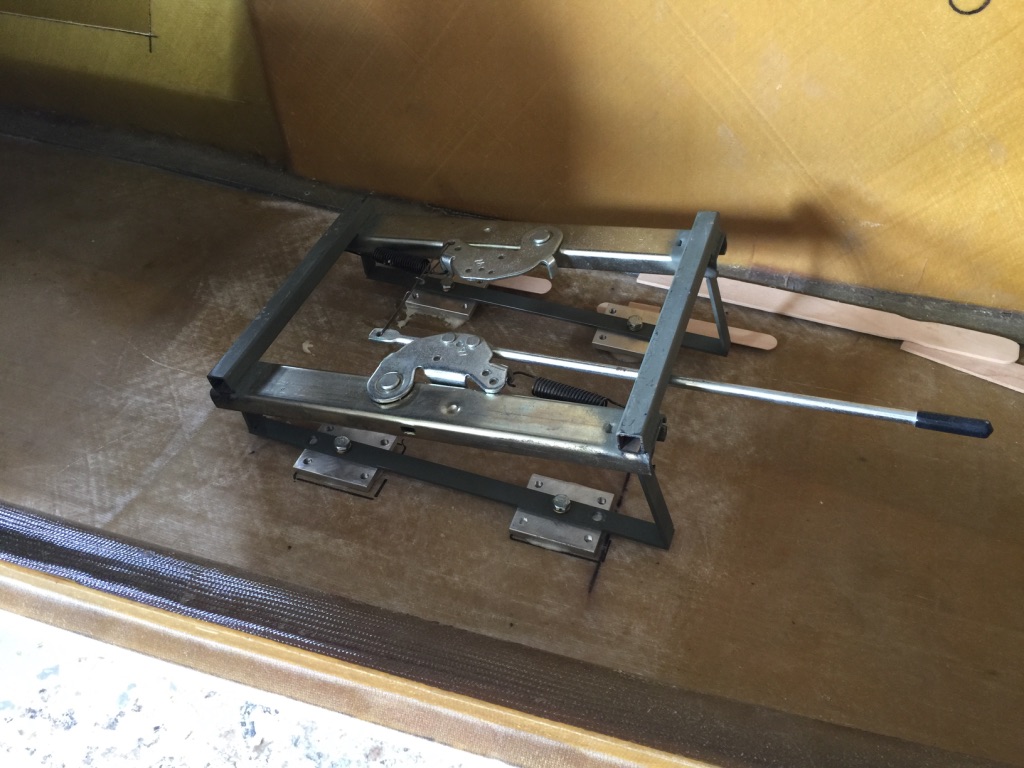
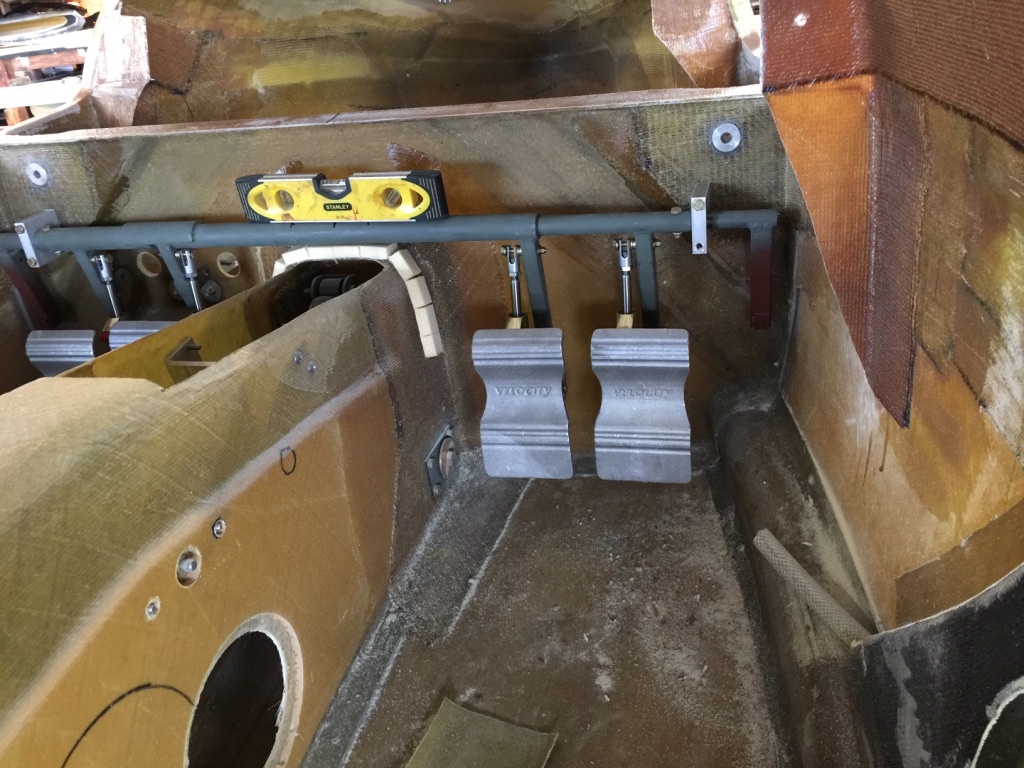
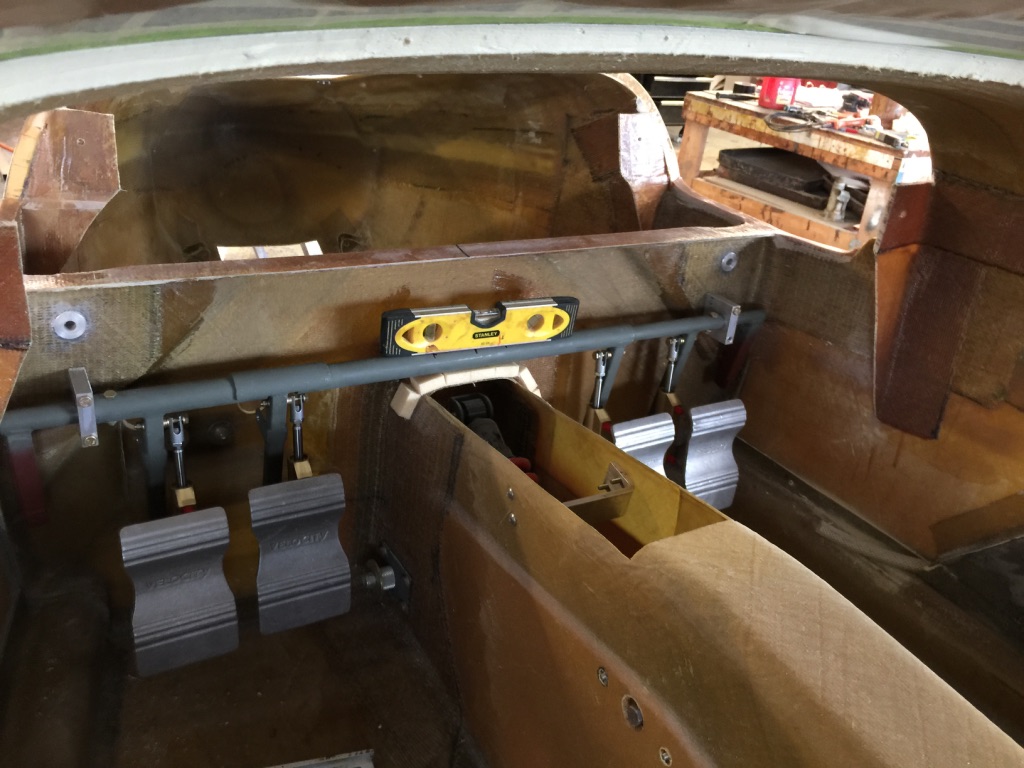
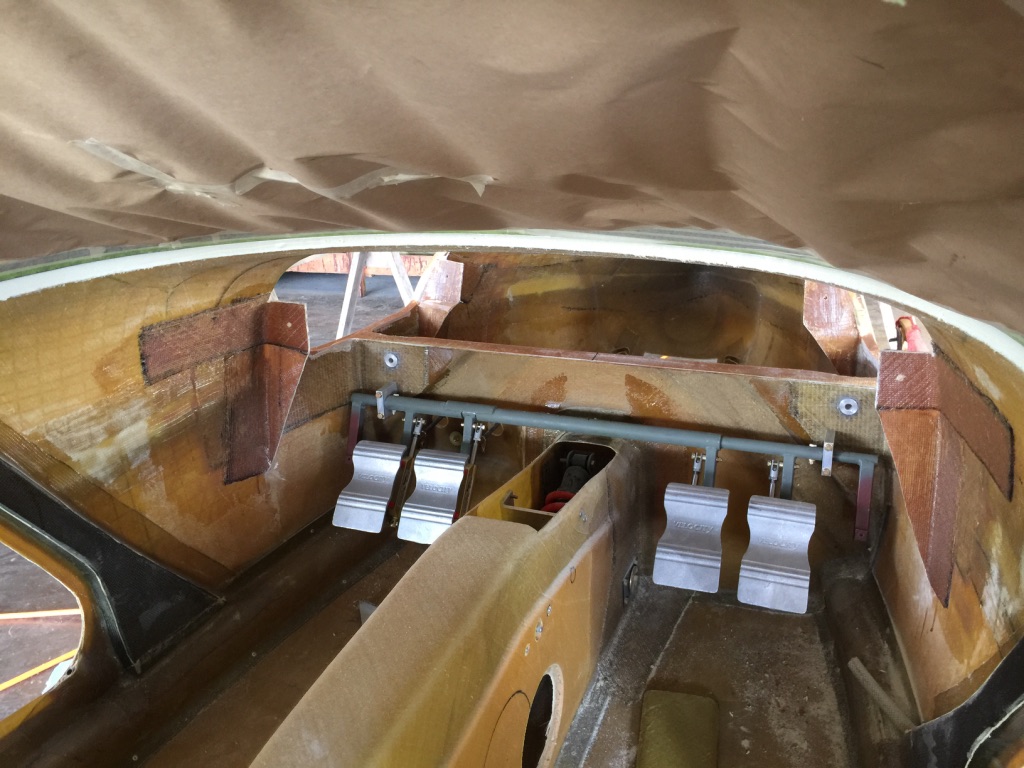
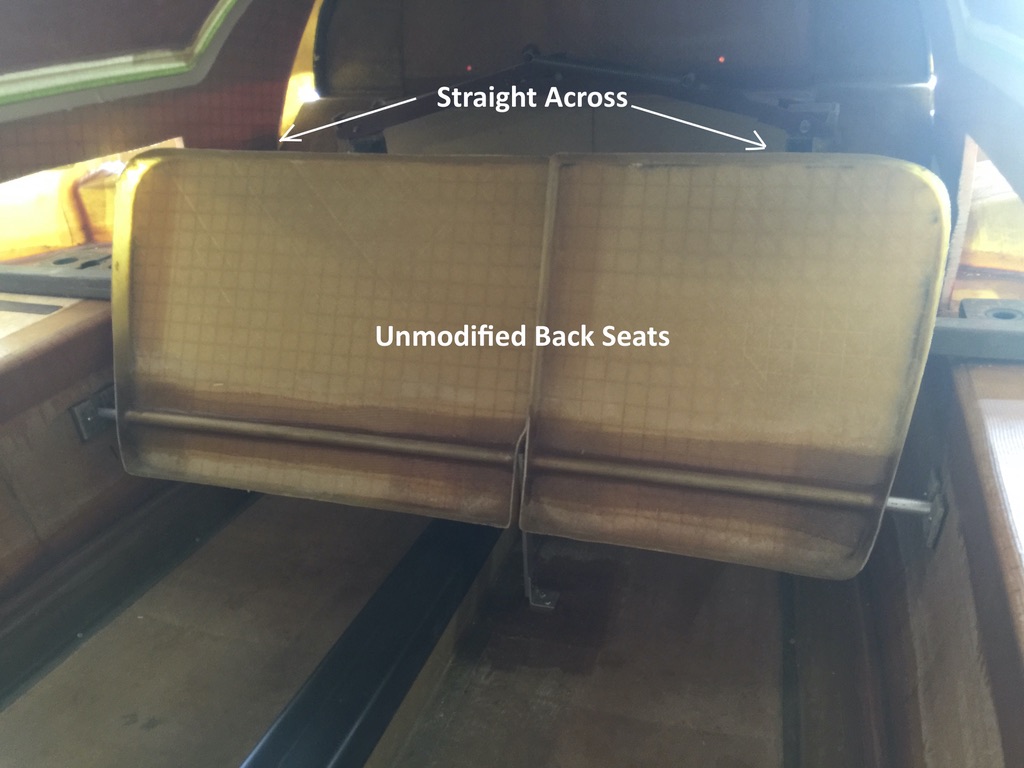
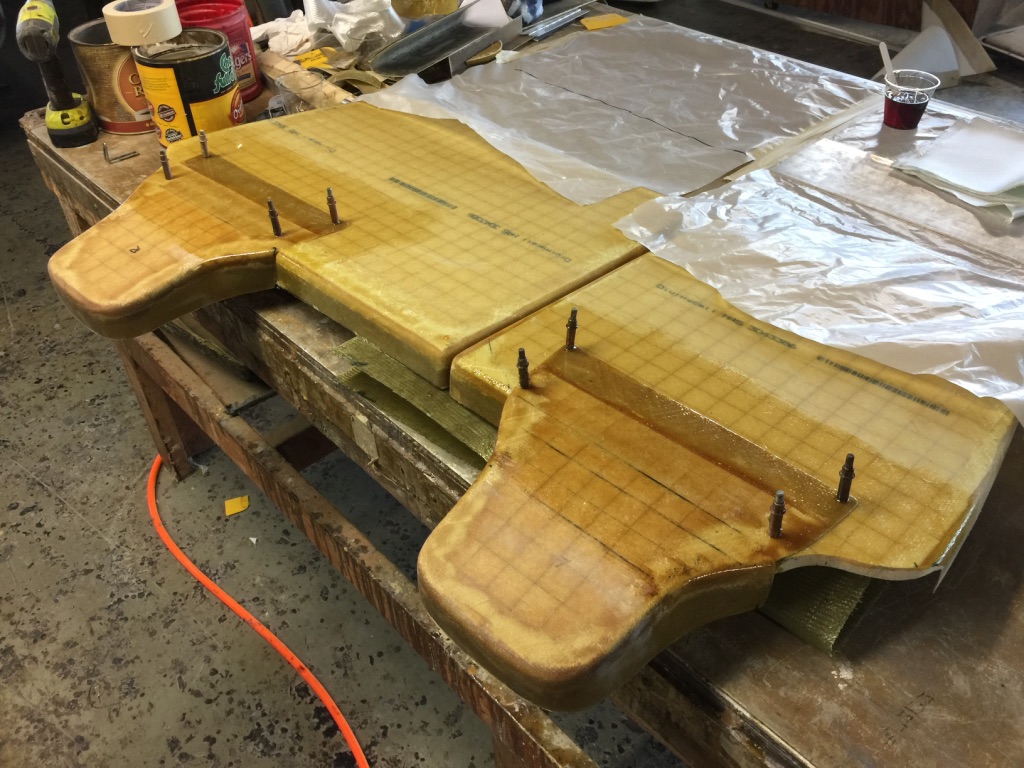
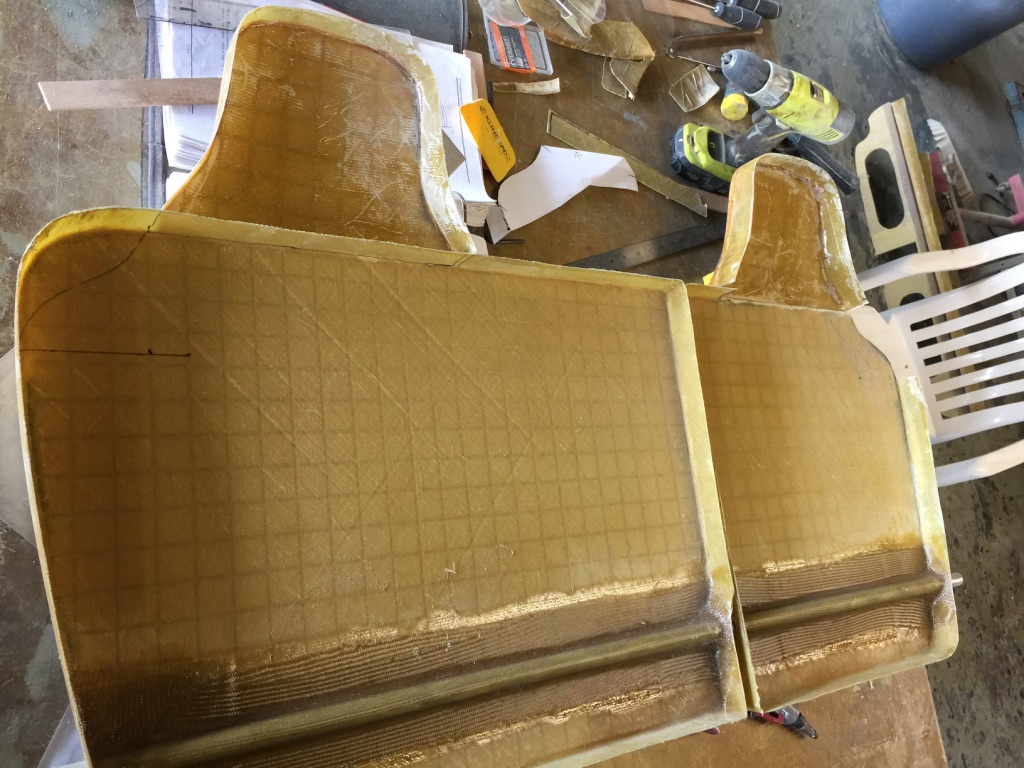
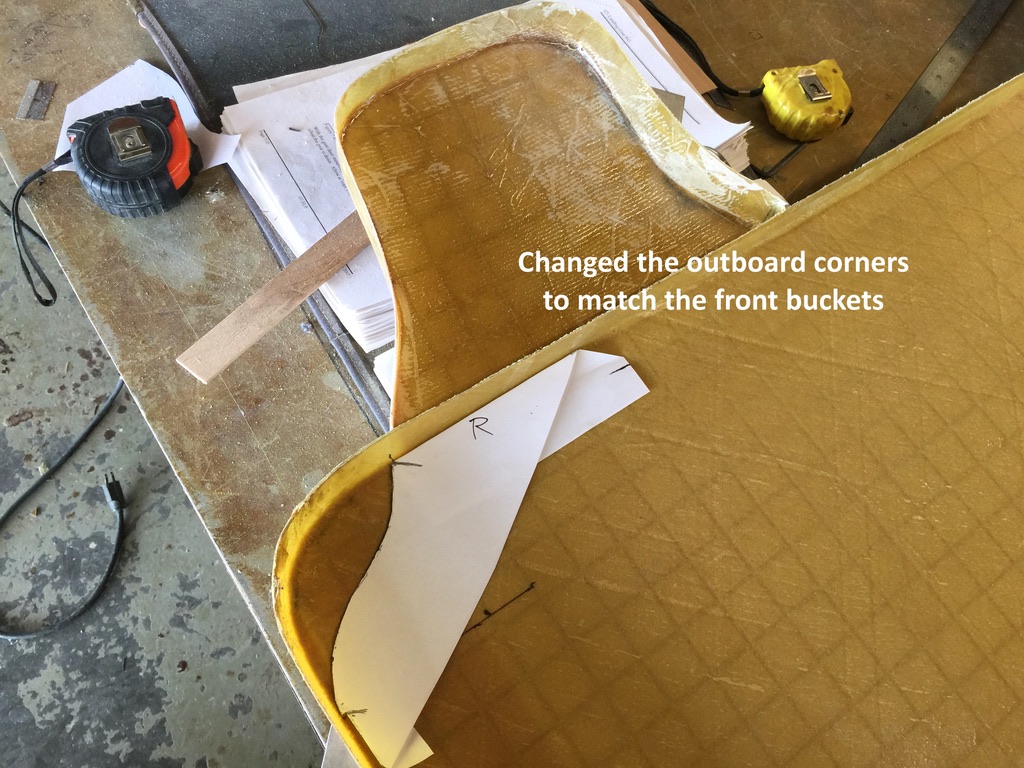
Assembling the front seats
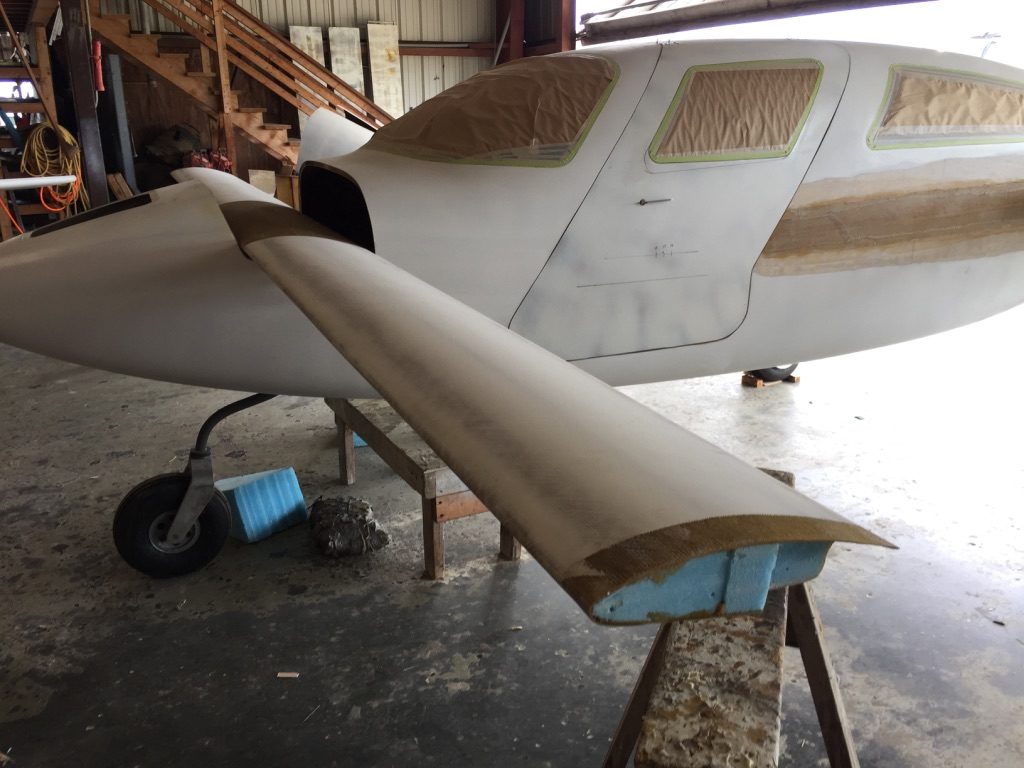
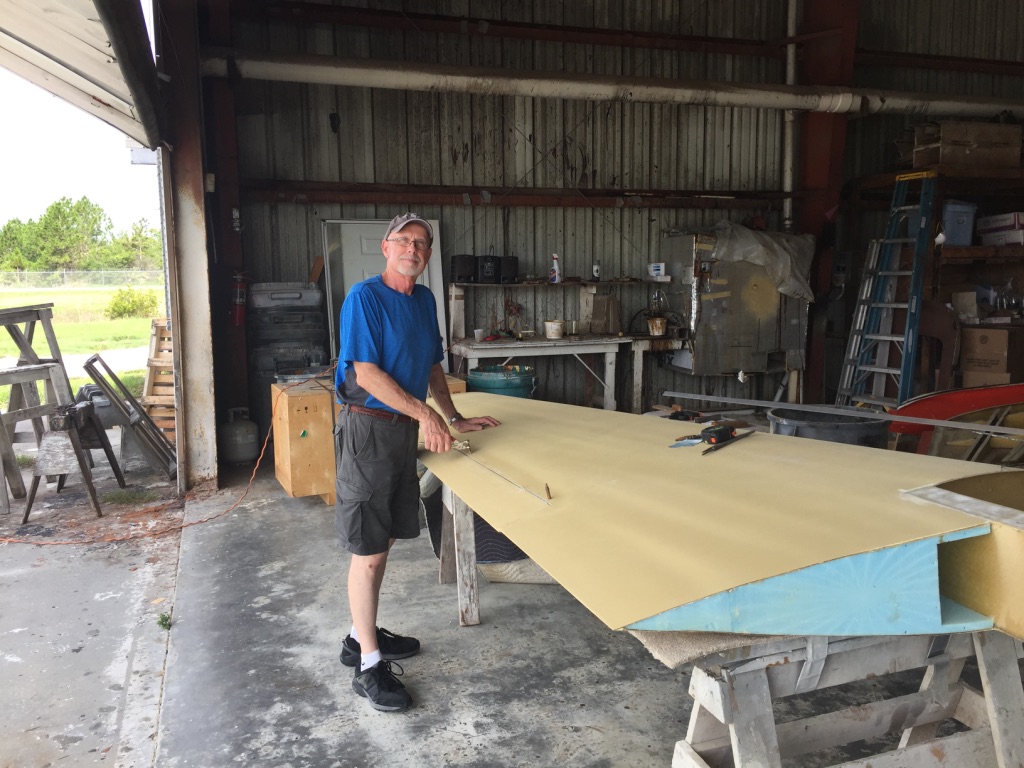
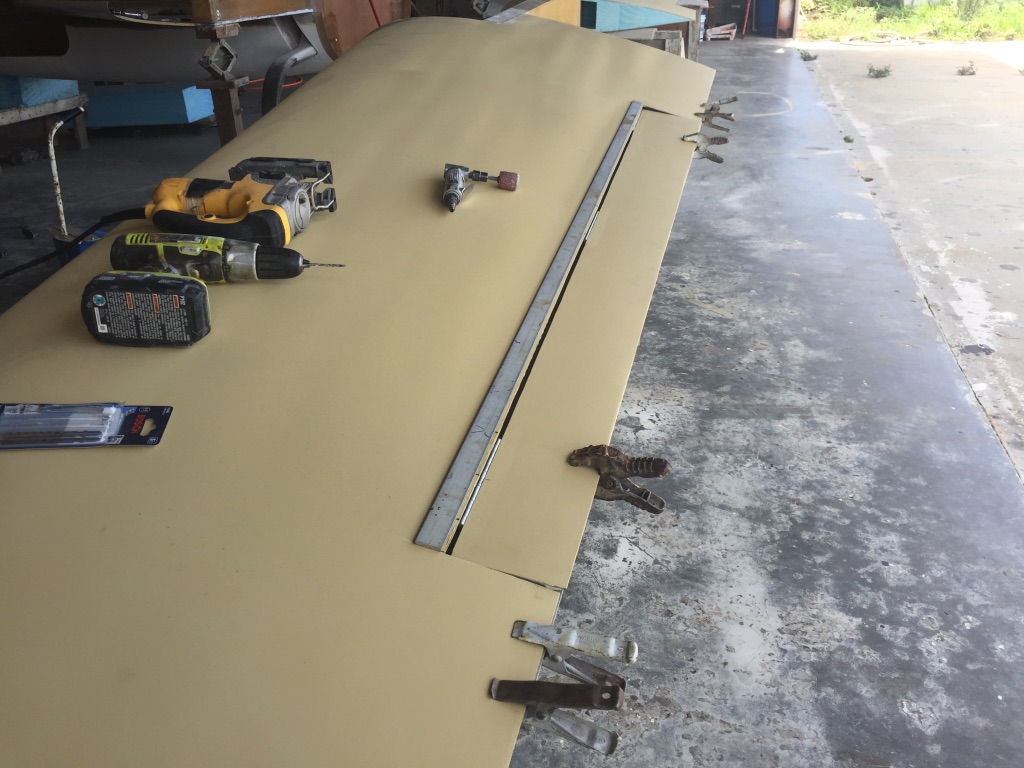
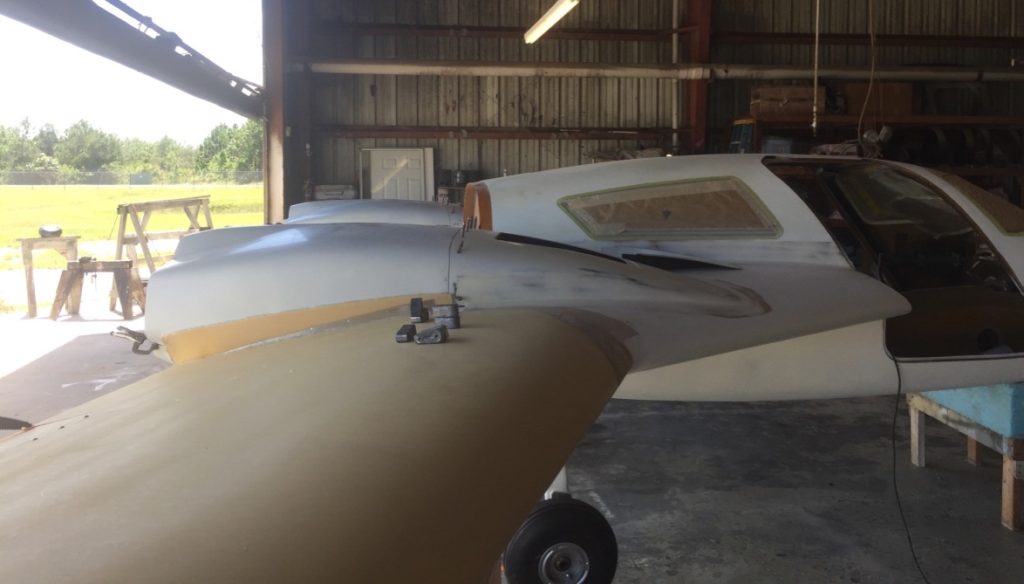
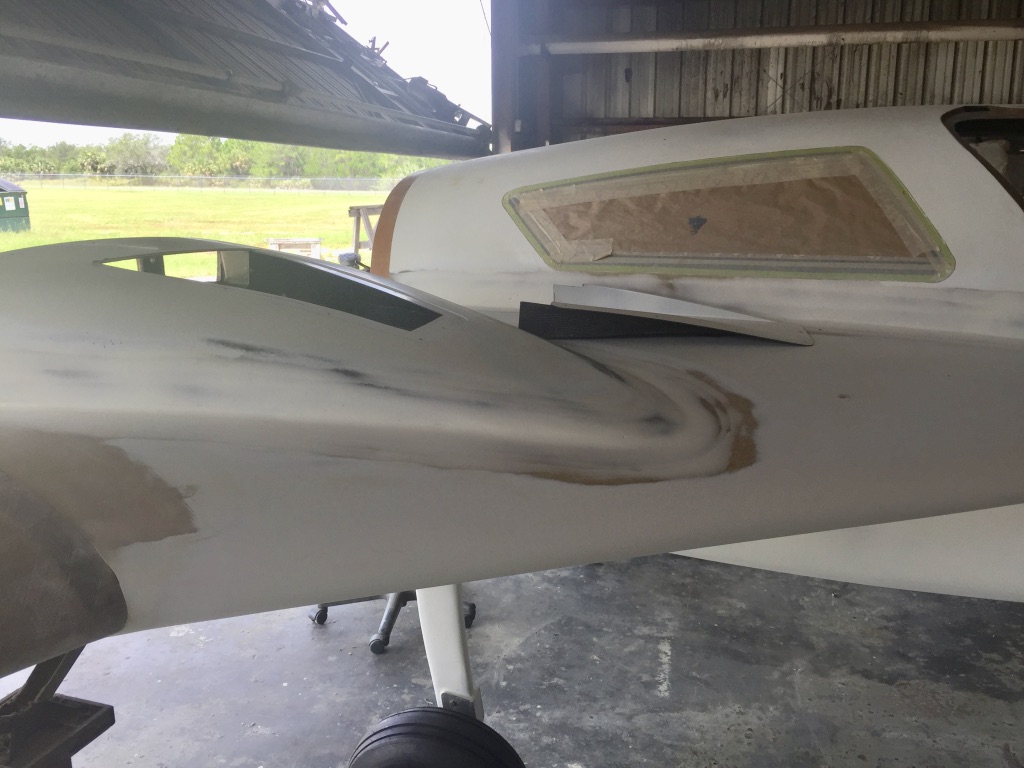
Mounting and aligning the canard 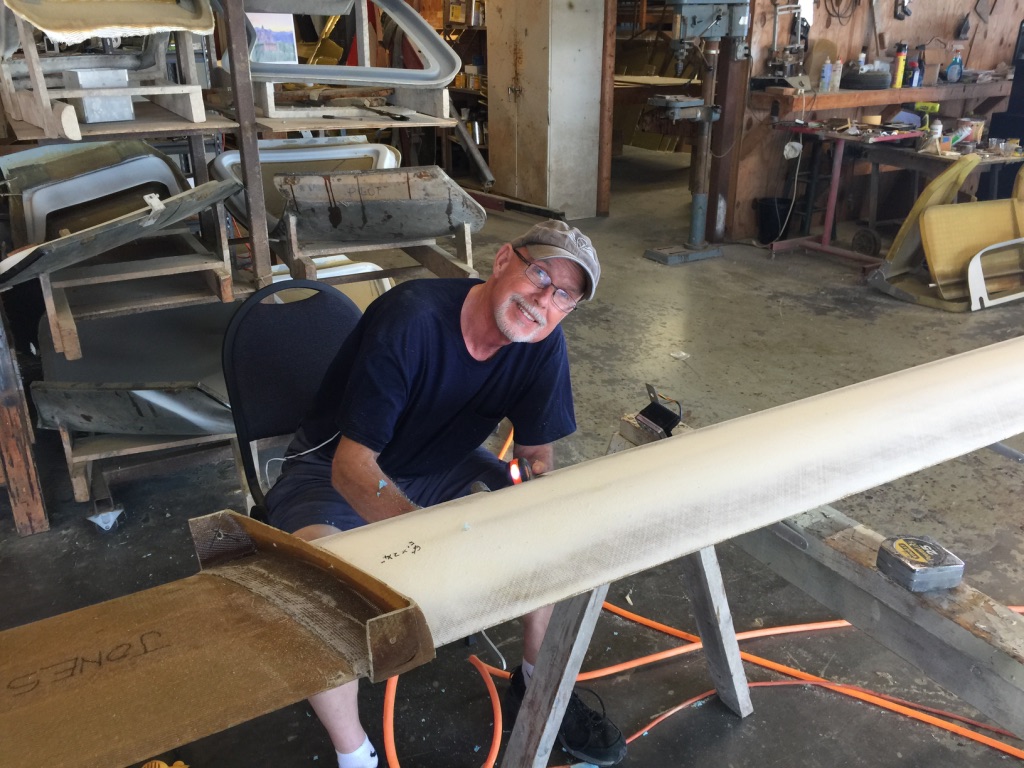
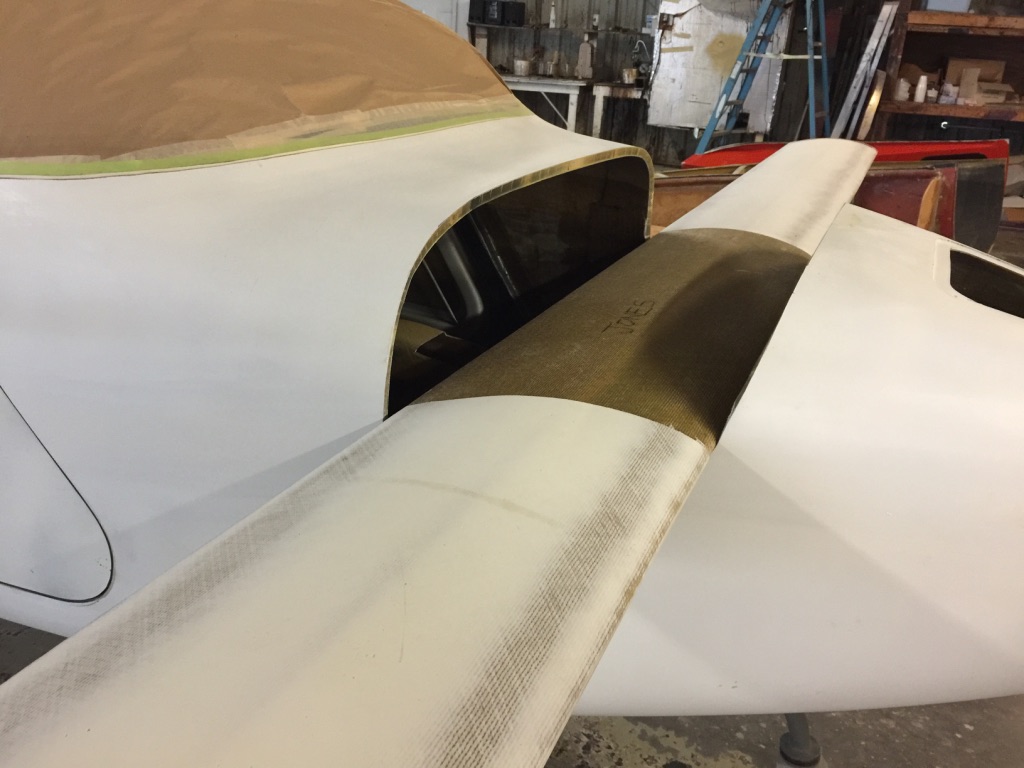
Mounting and Aligning the Canard

Mounting the canard tips

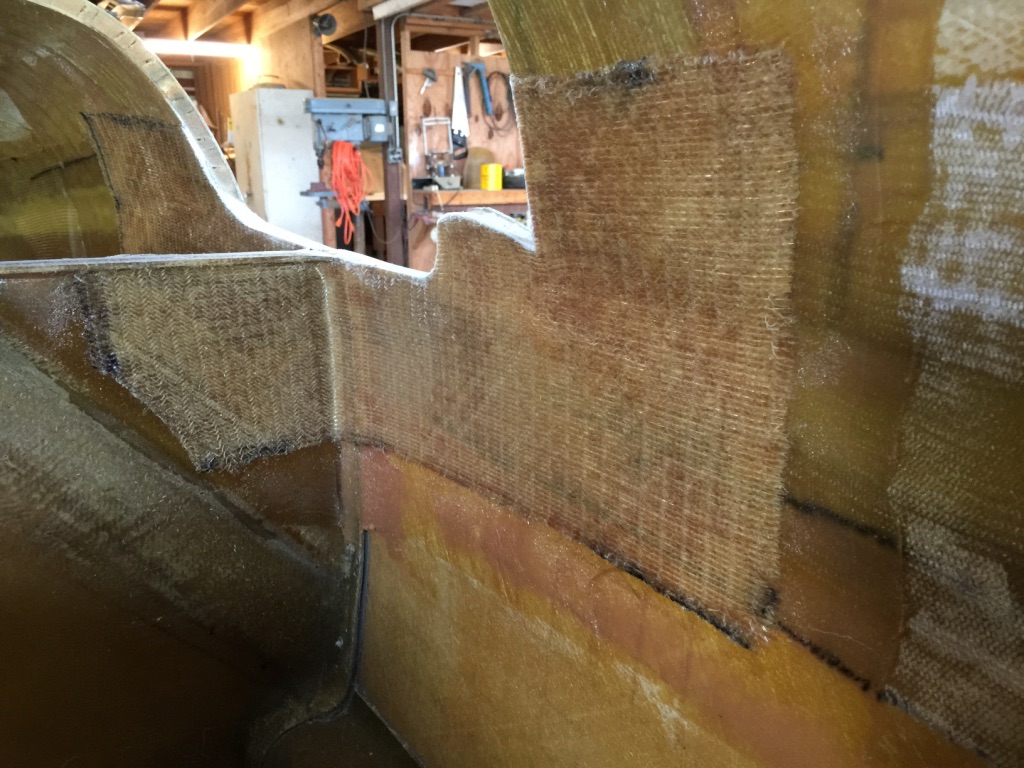
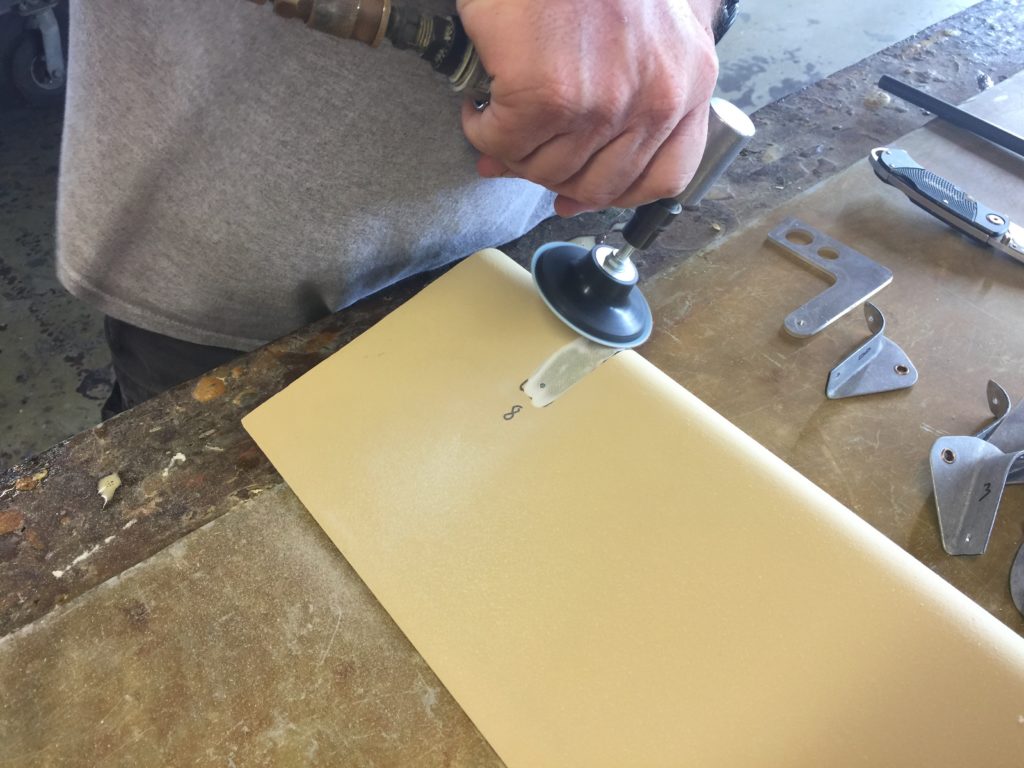
Applying triax strengthening layups
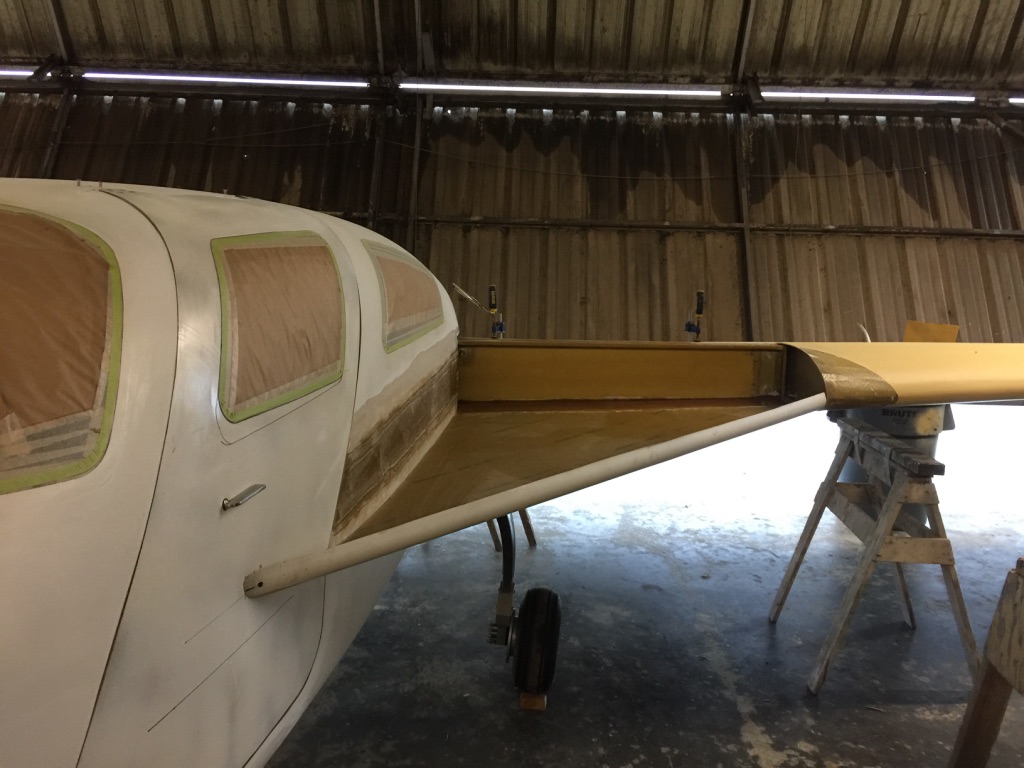
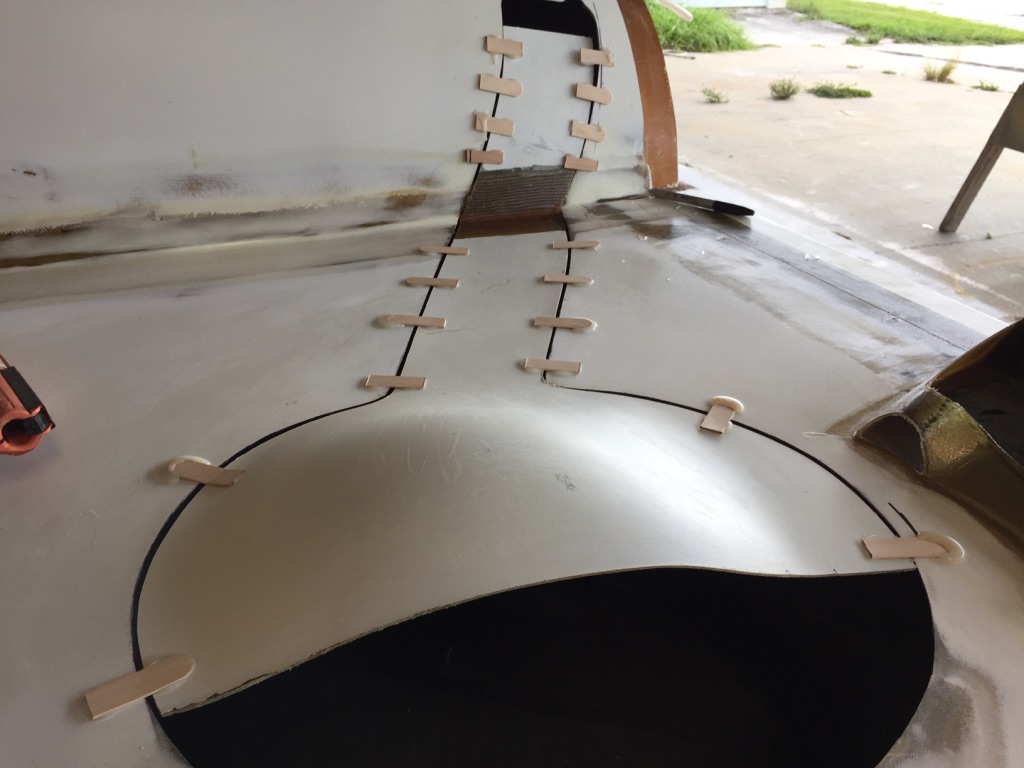
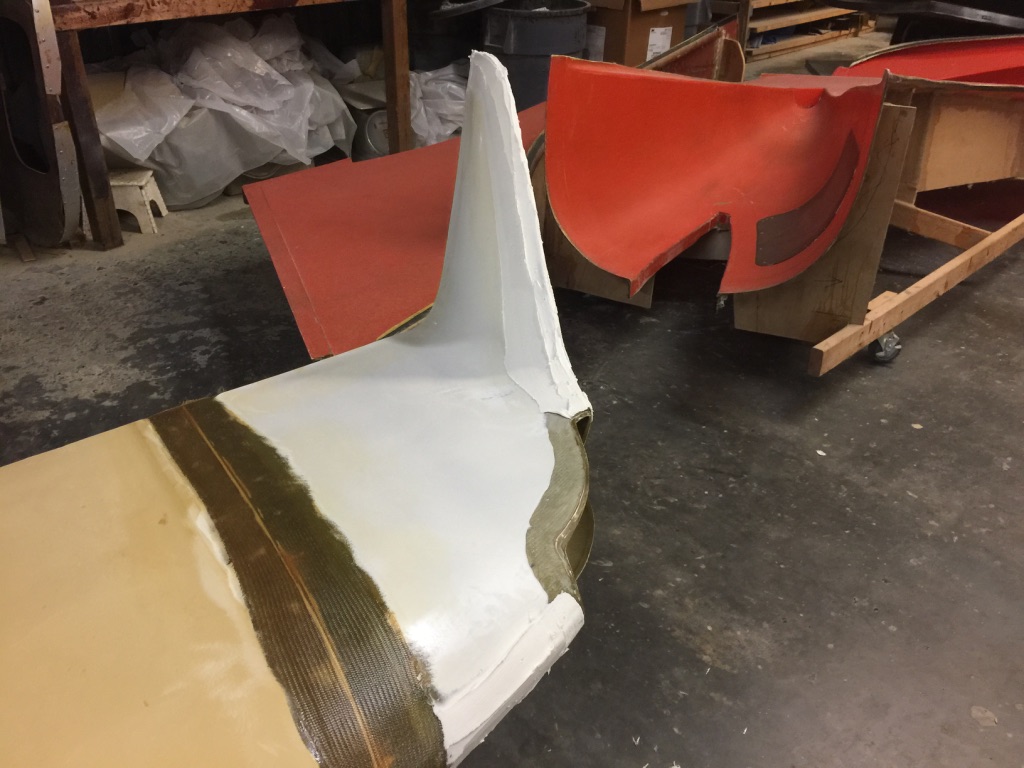
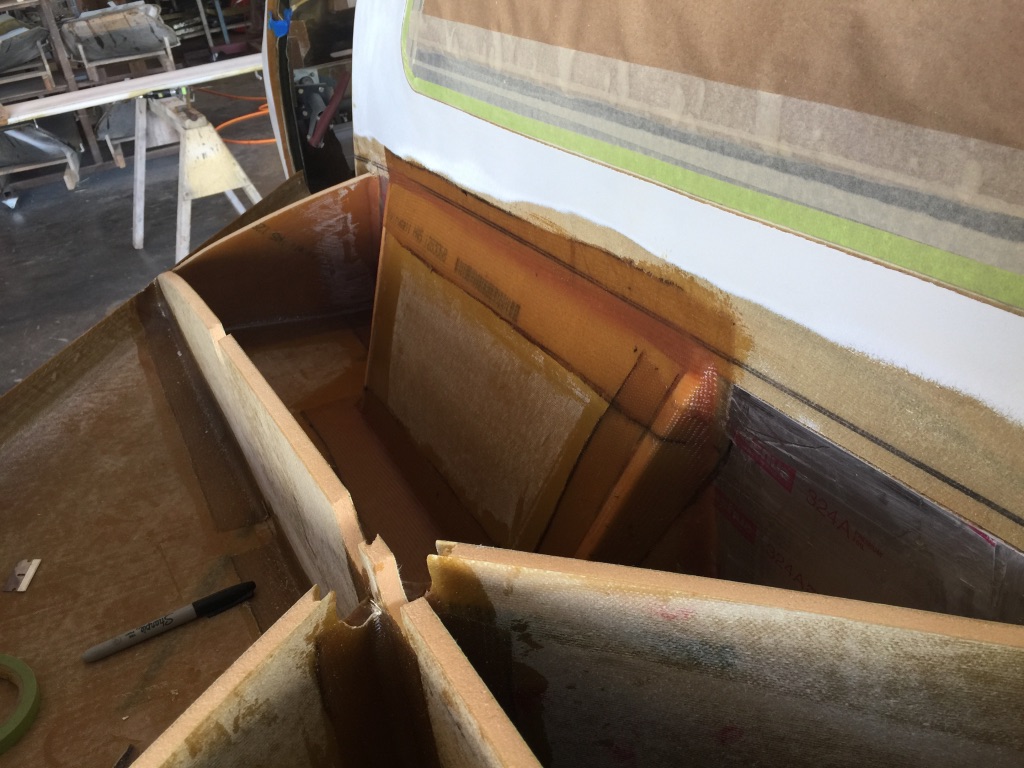
The strakes were one of the bigger projects. They are NOT part of the Head Start program. They take a month or two to complete. You start by aligning then bonding on the lower strake skins, then the top skins wait until the fuel tanks and gear pockets are completed.
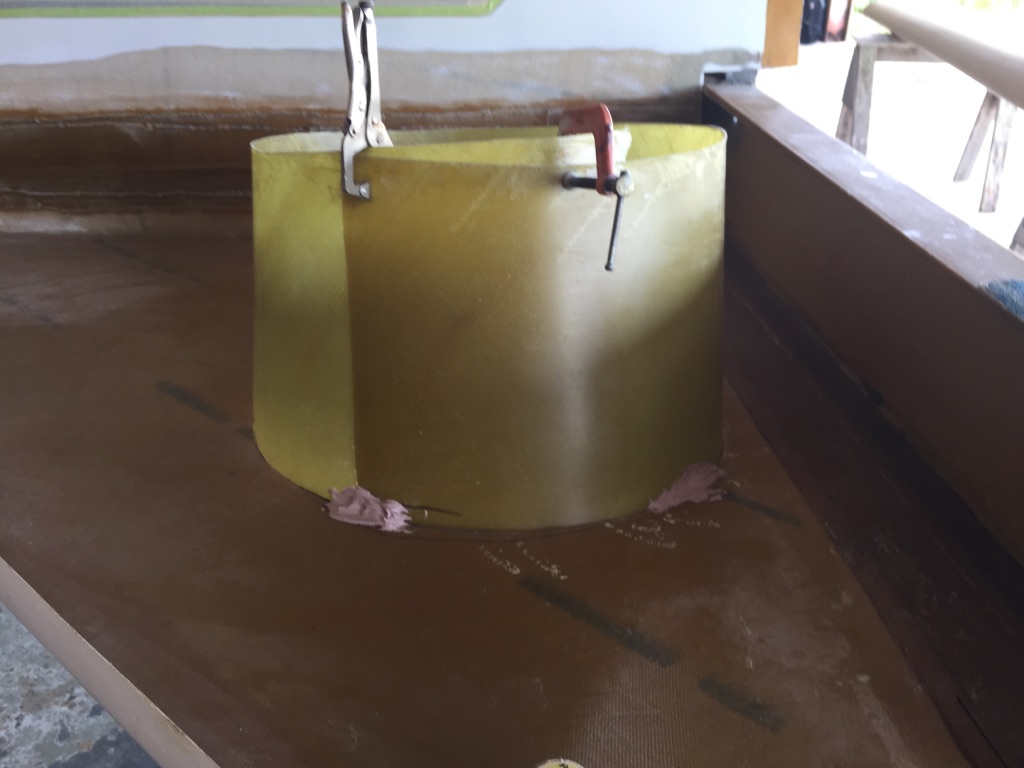
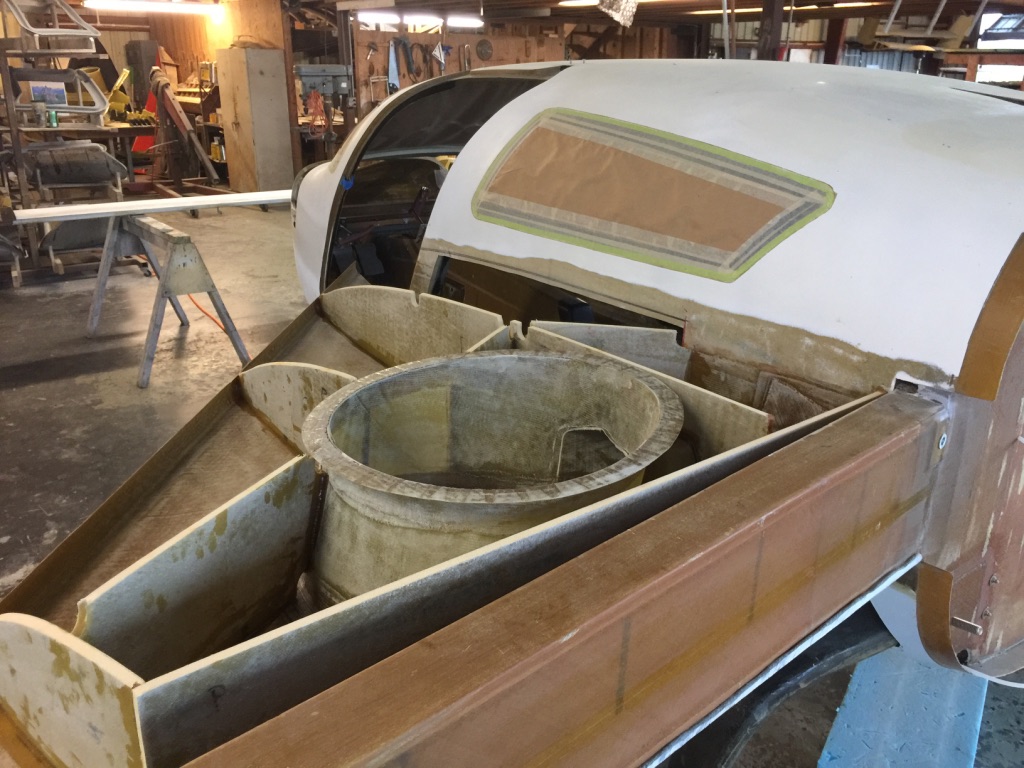
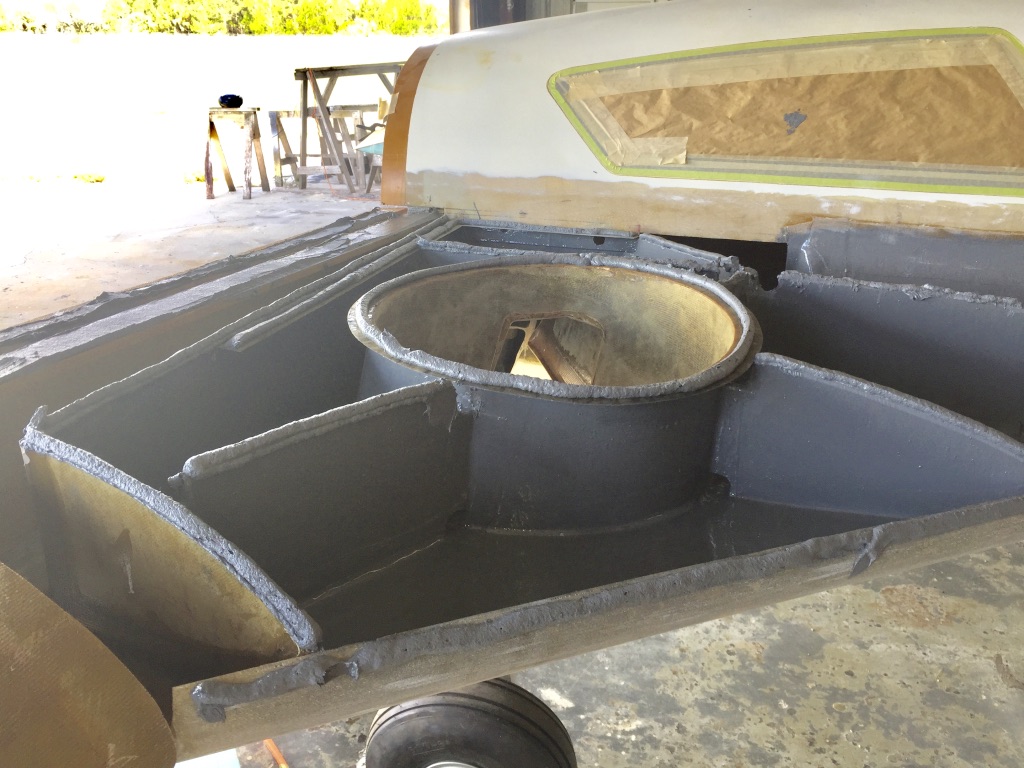
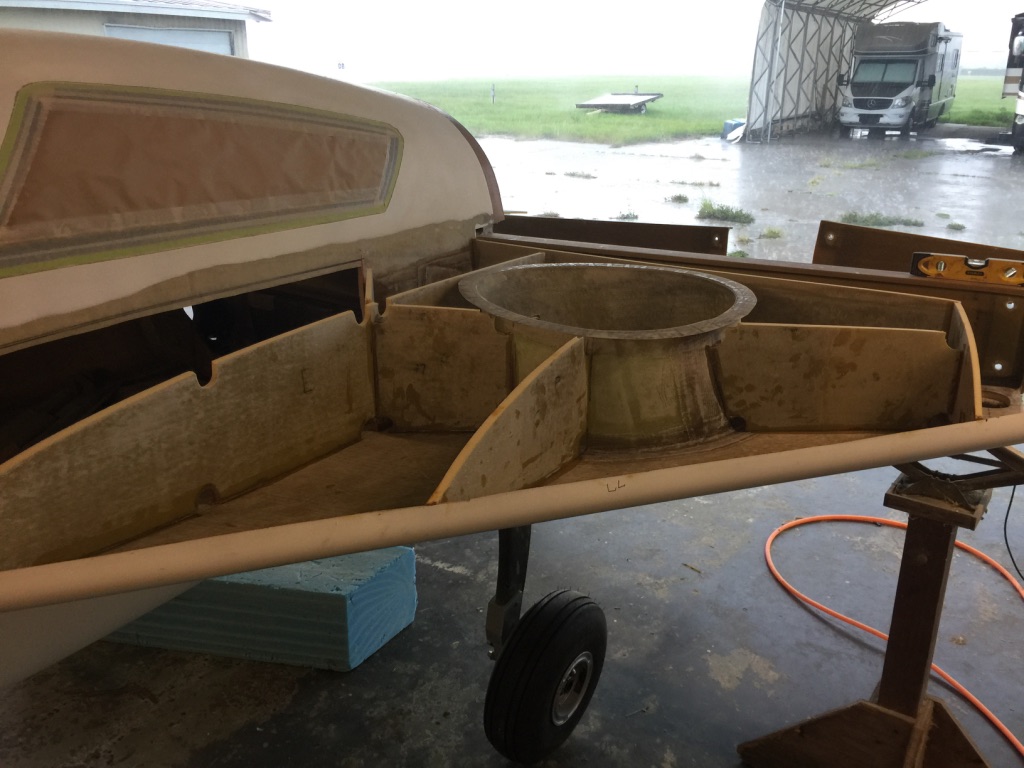
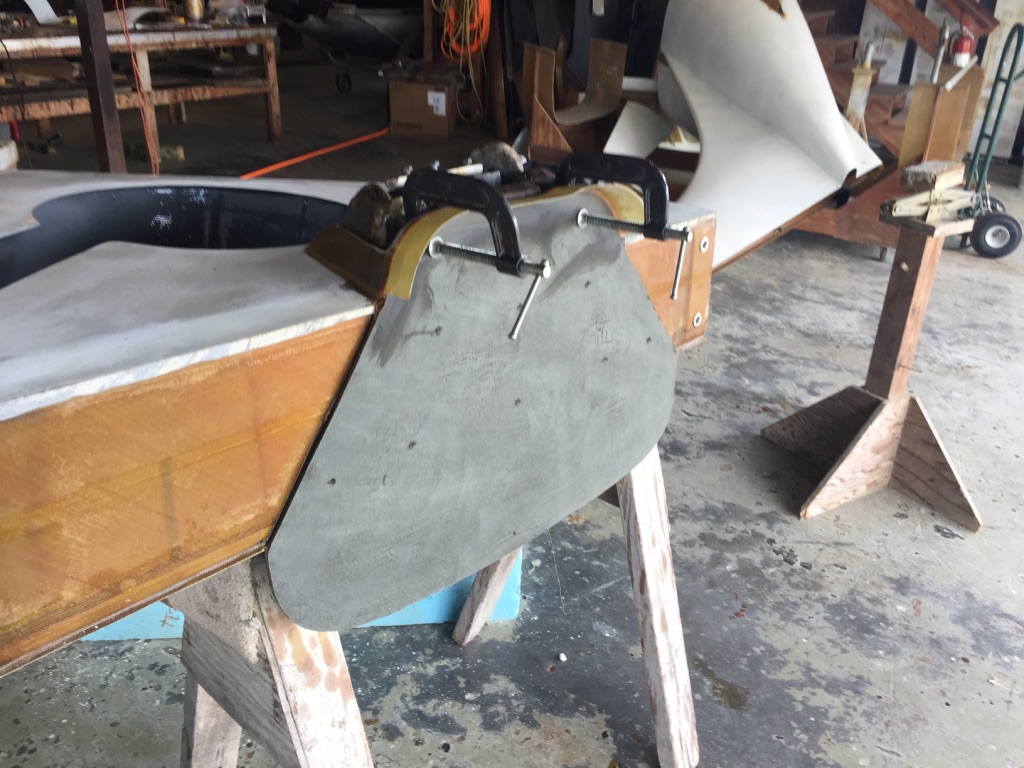
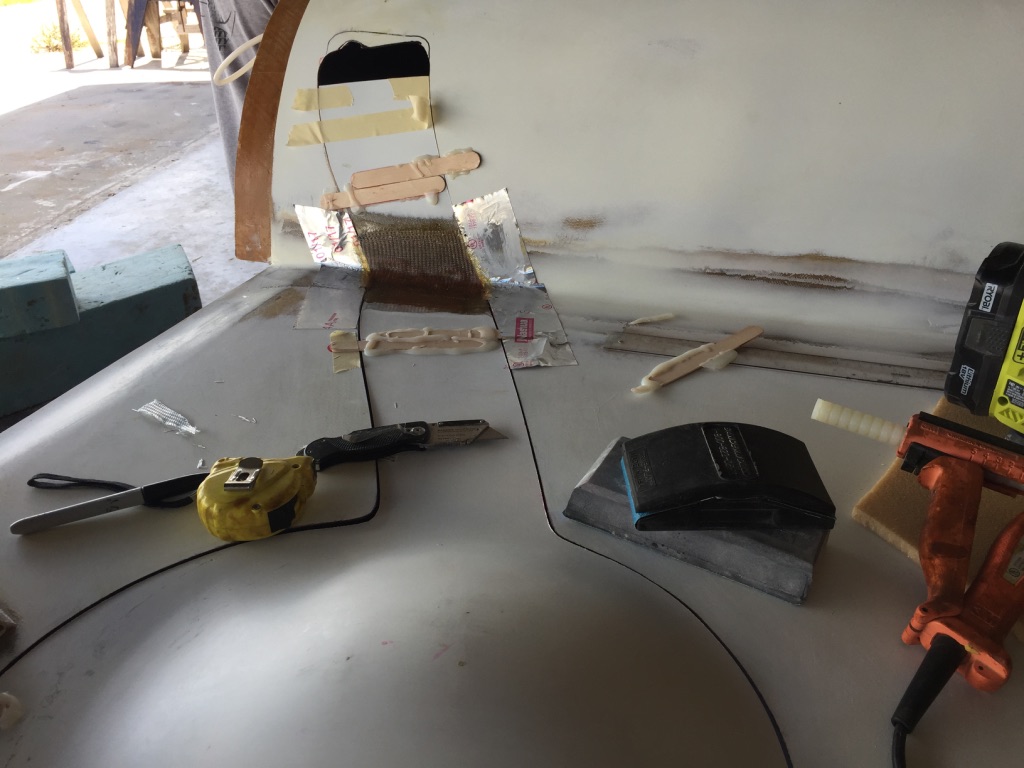
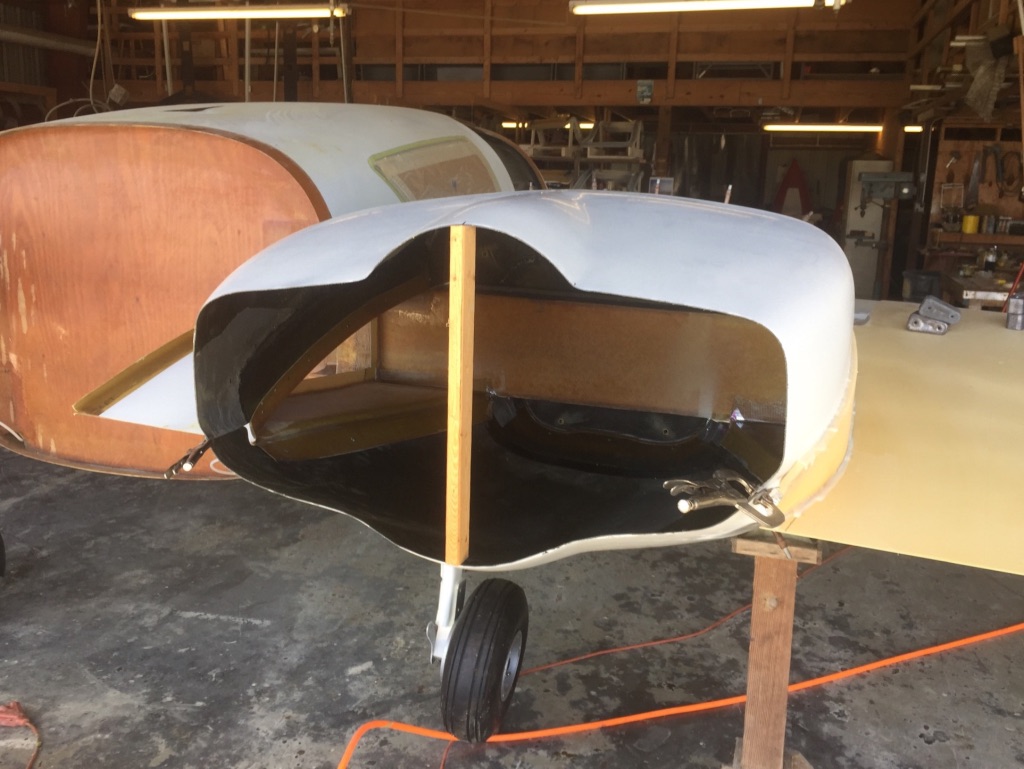
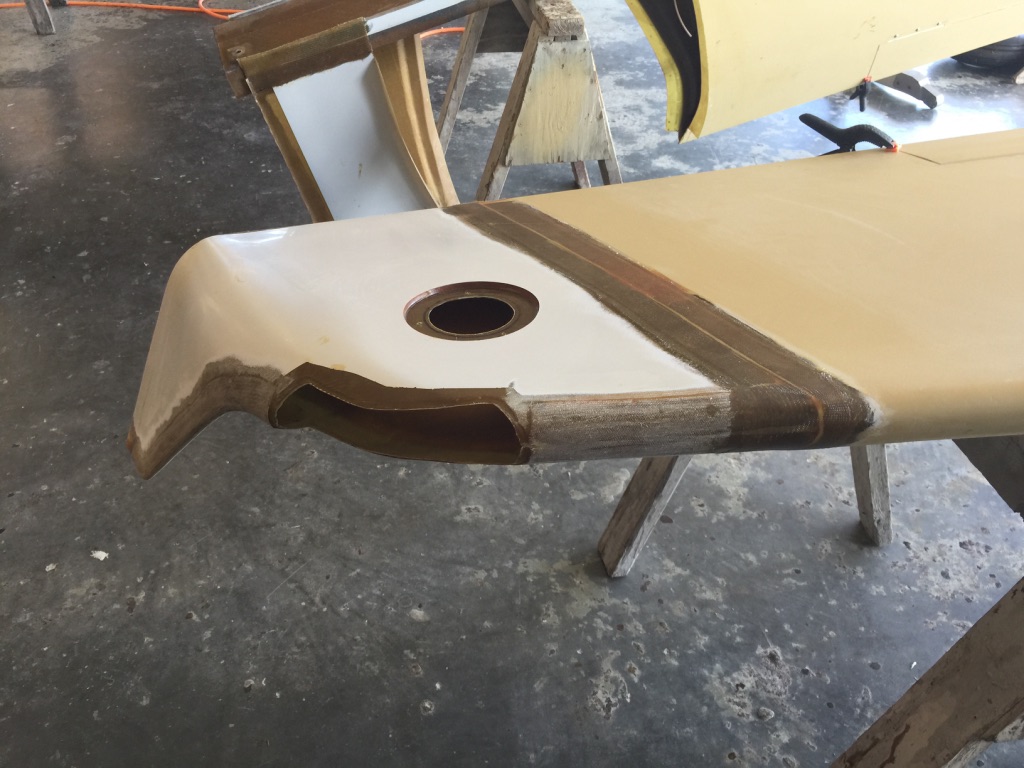
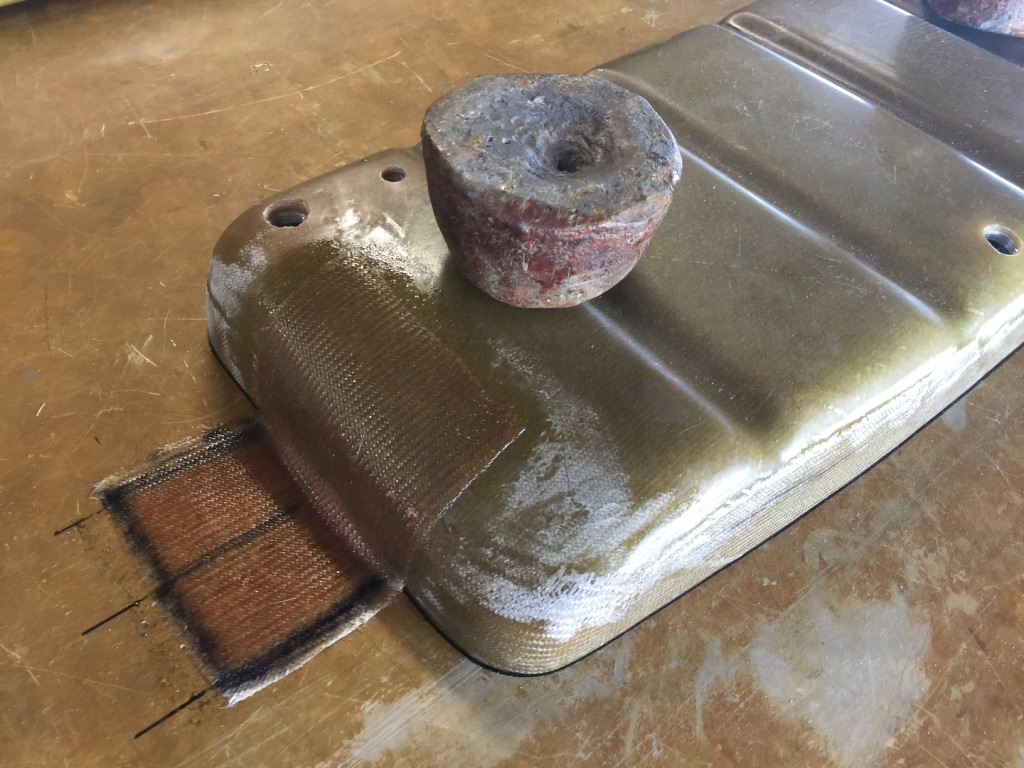
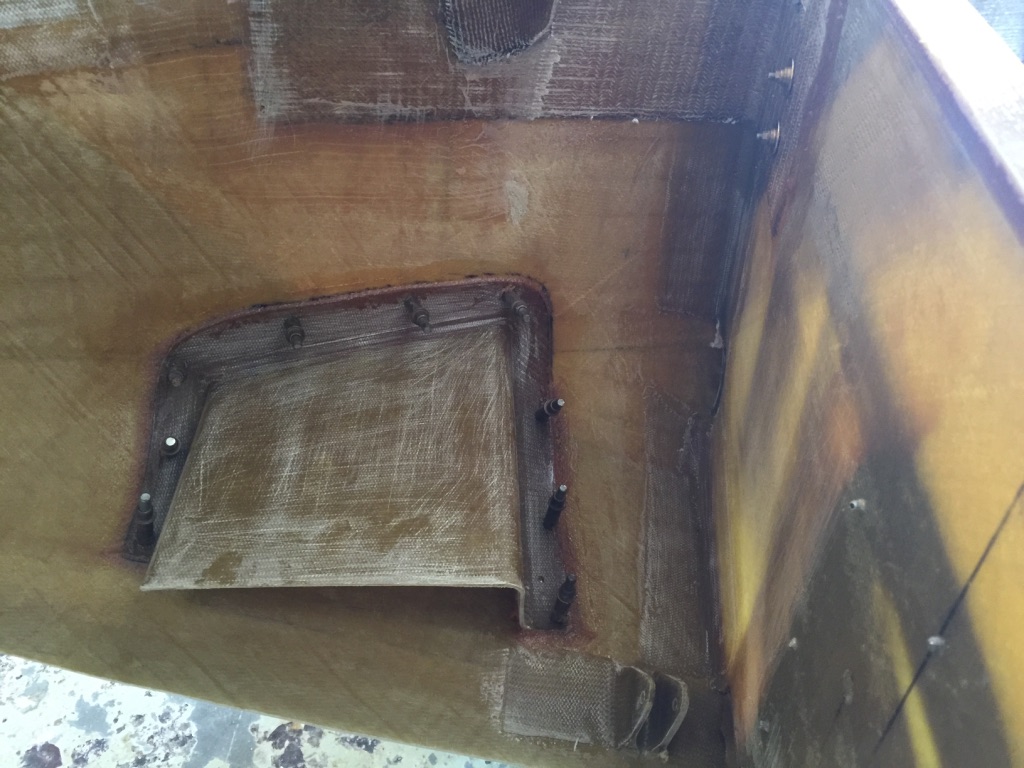
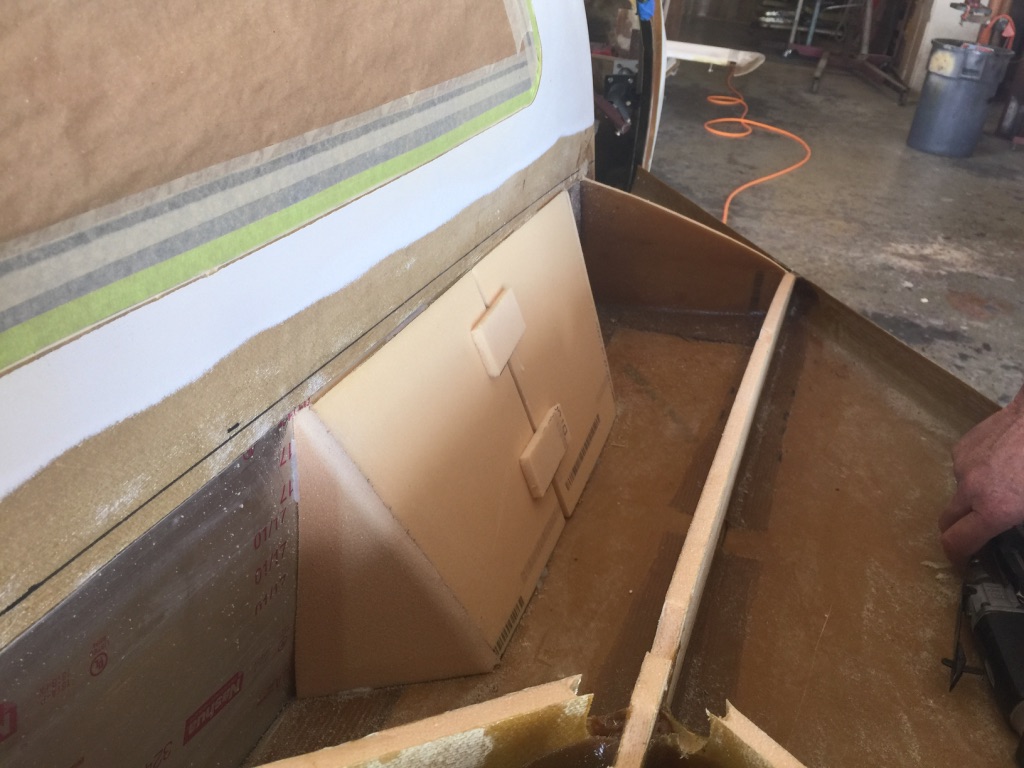
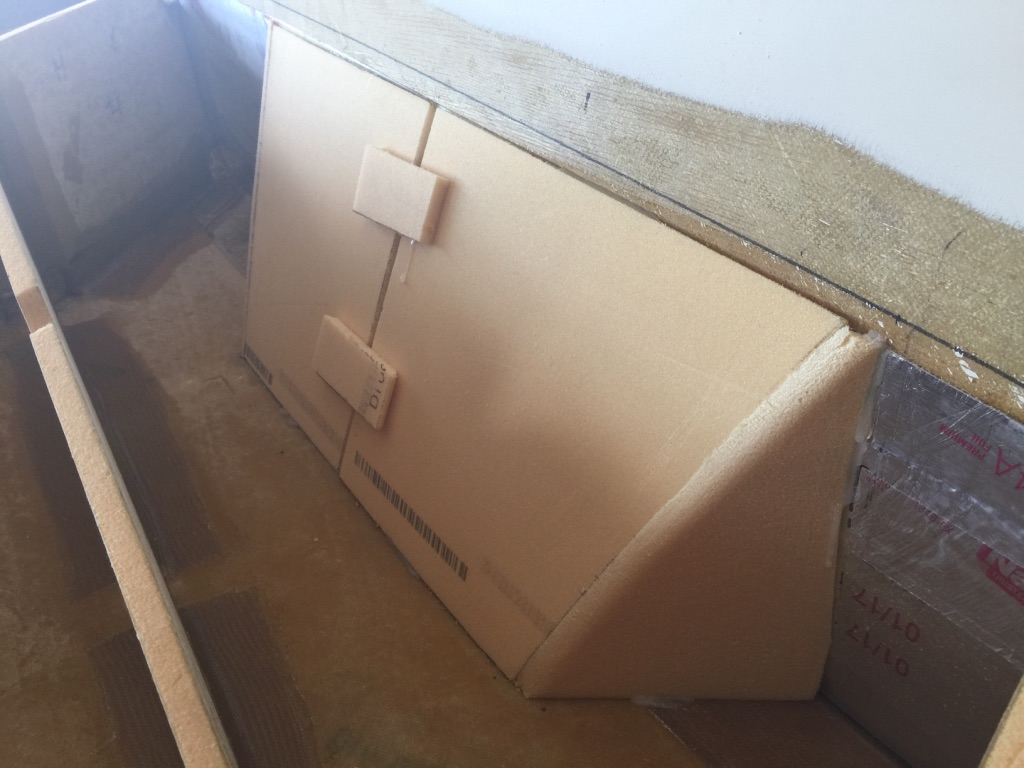
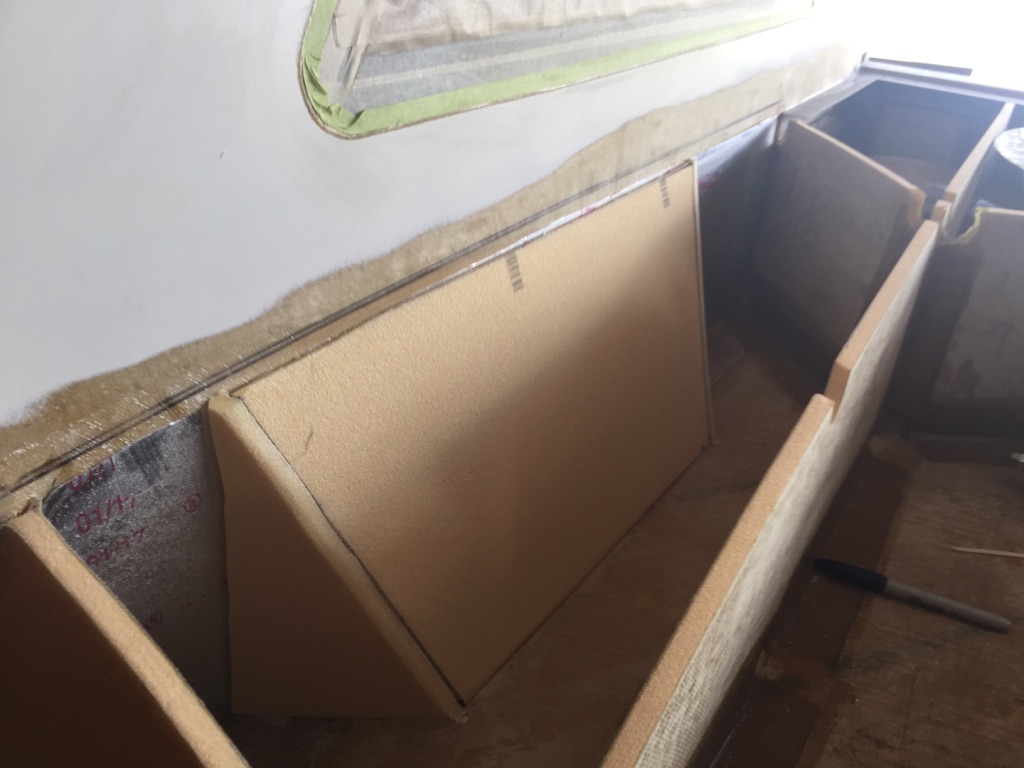
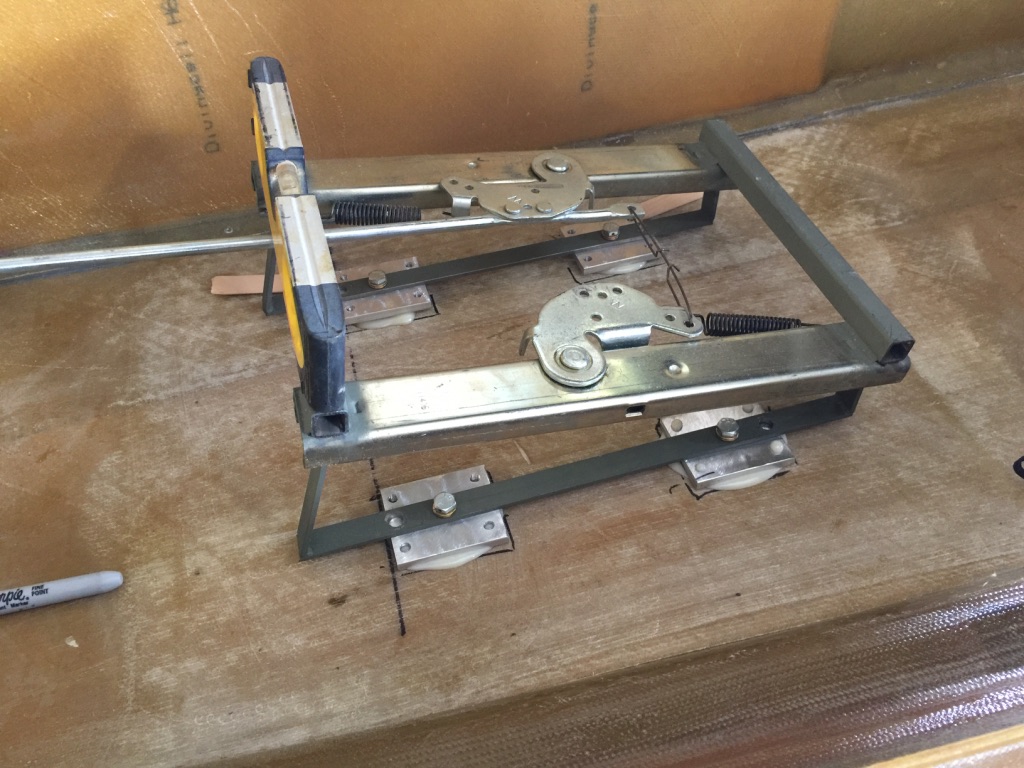
Building the pocket for the main gear wheel assembly 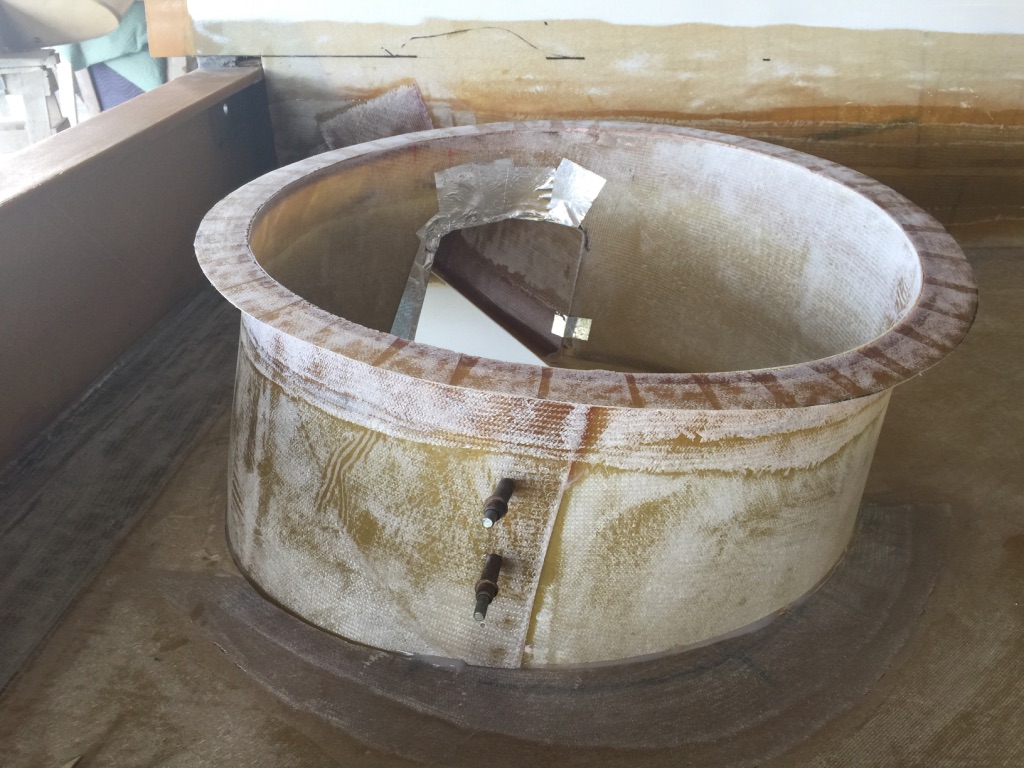
Before you can build a main fuel tank, you must first construct the main gear pocket

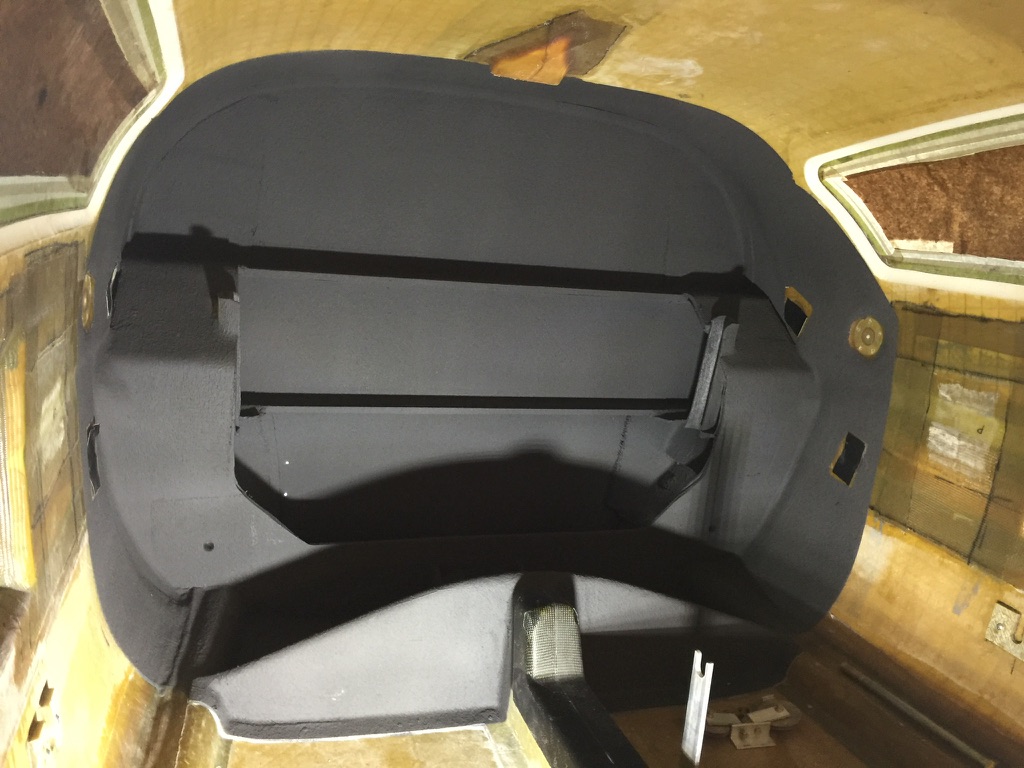
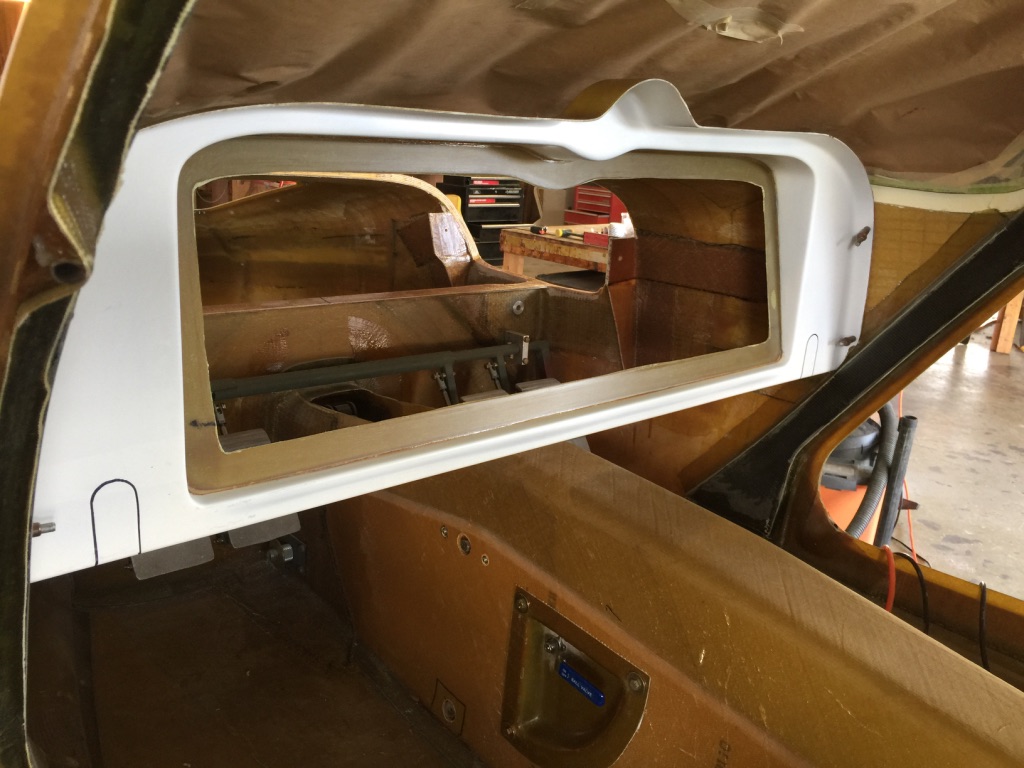
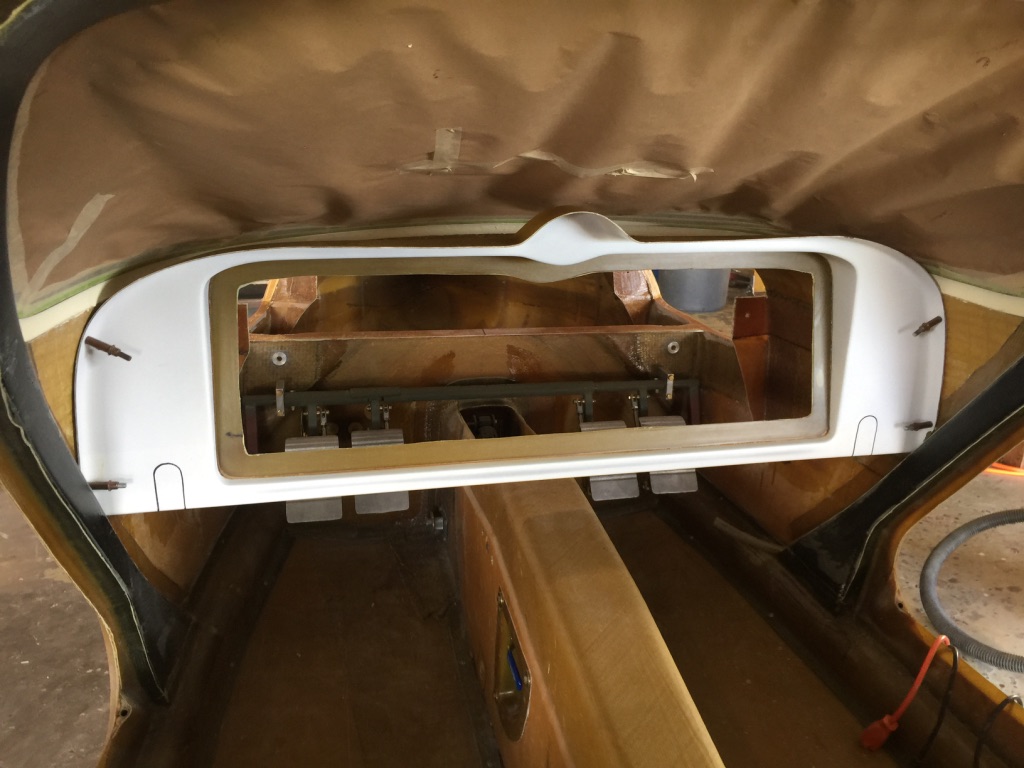
“Dog House” installation
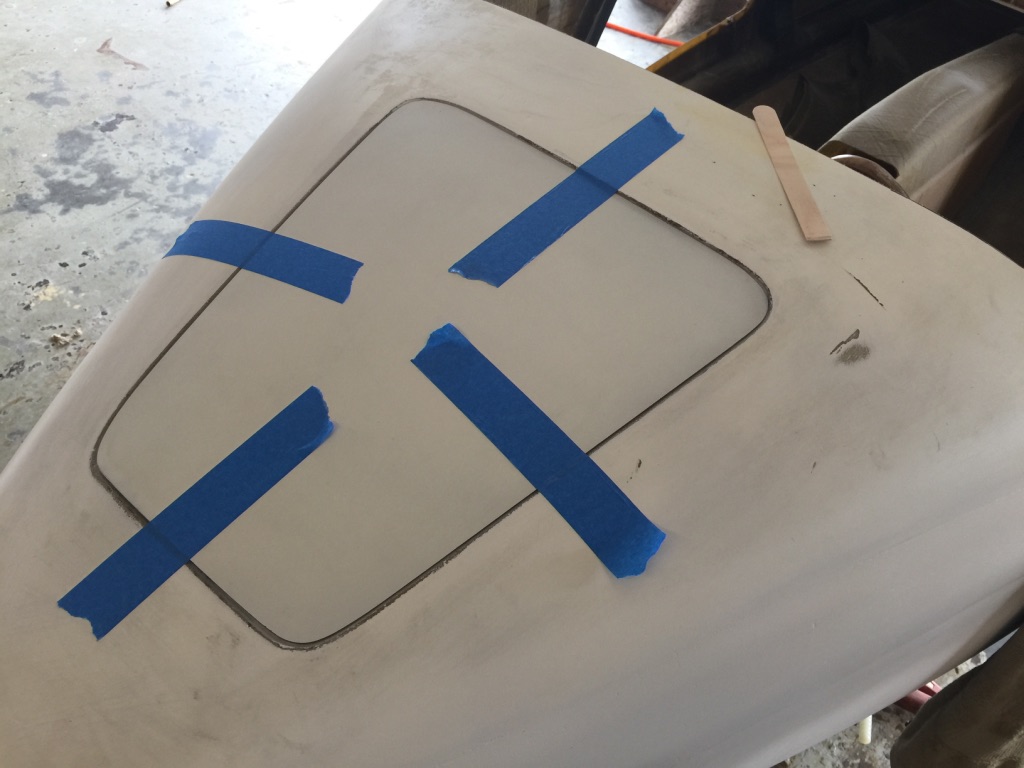
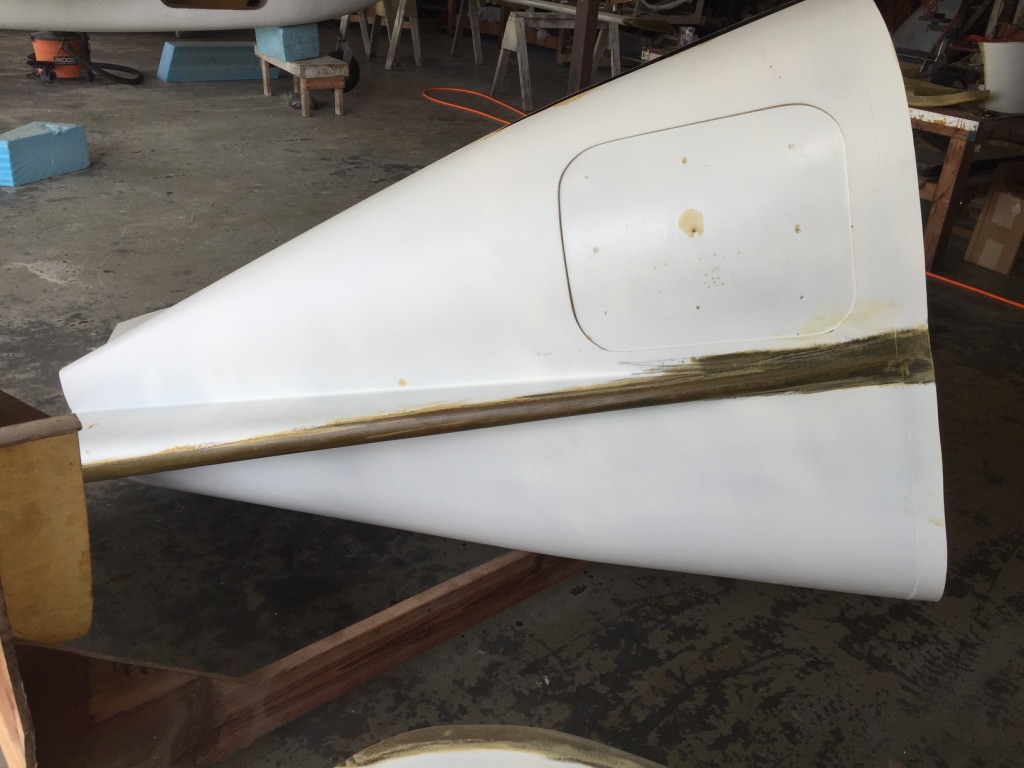
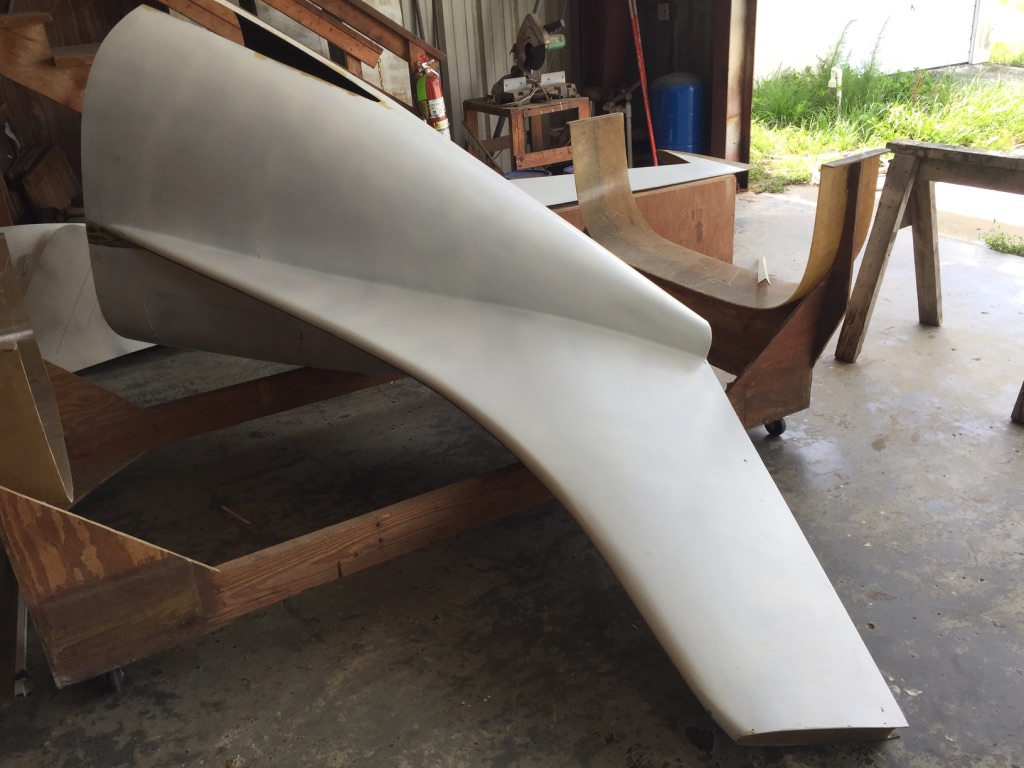
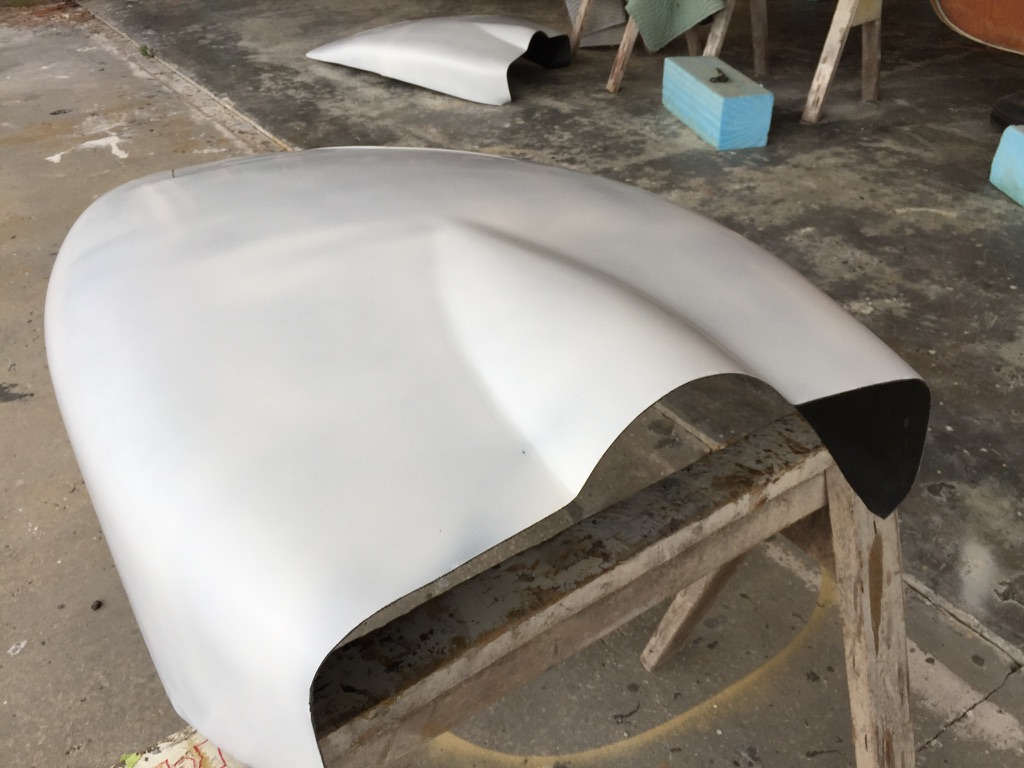
Fitting the nose access hatch 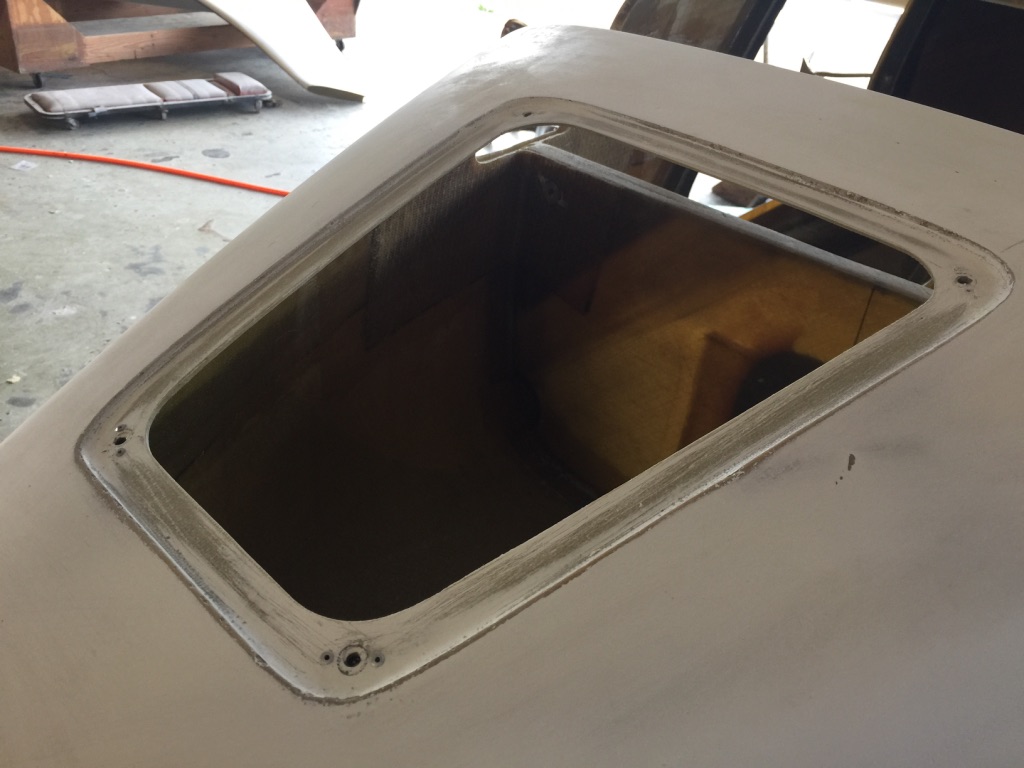
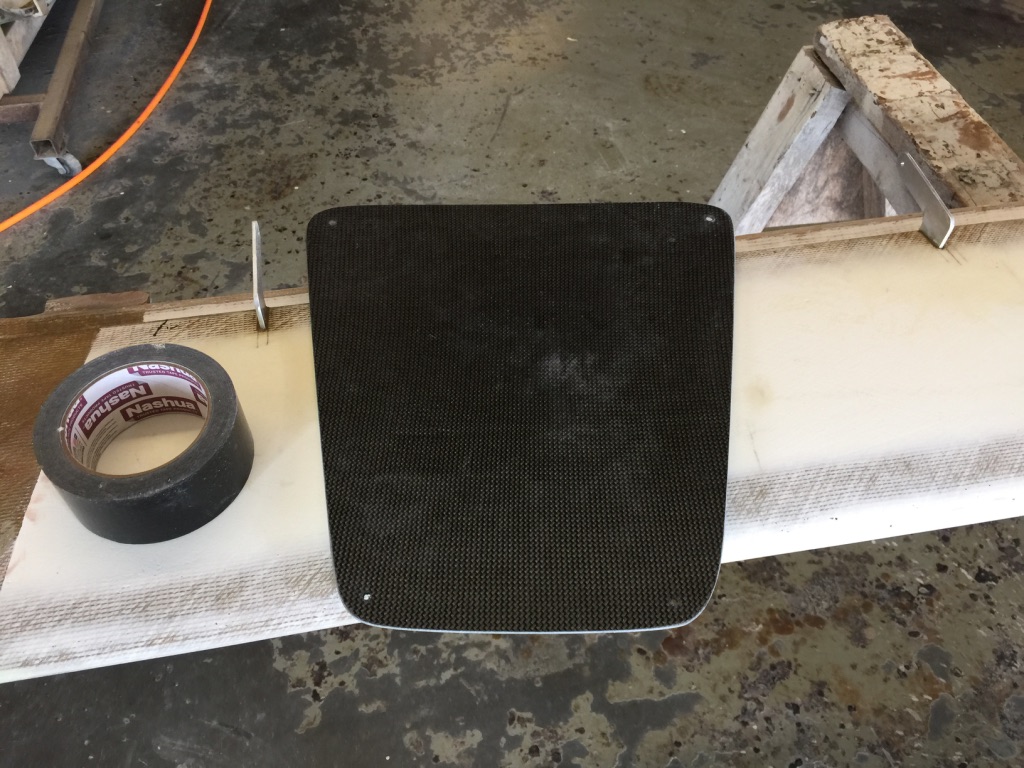
Trim and fit the nose access hatch. I modified mine to have a remote release. I didn’t want to remove screws every time I needed access (every pre-flight!)
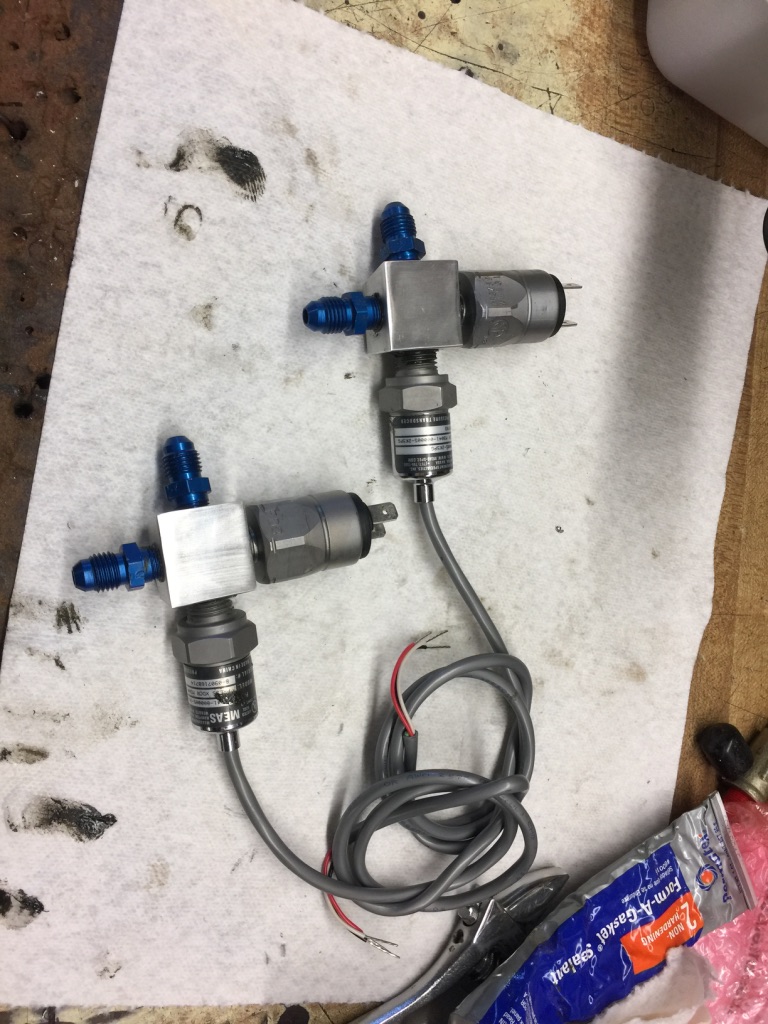
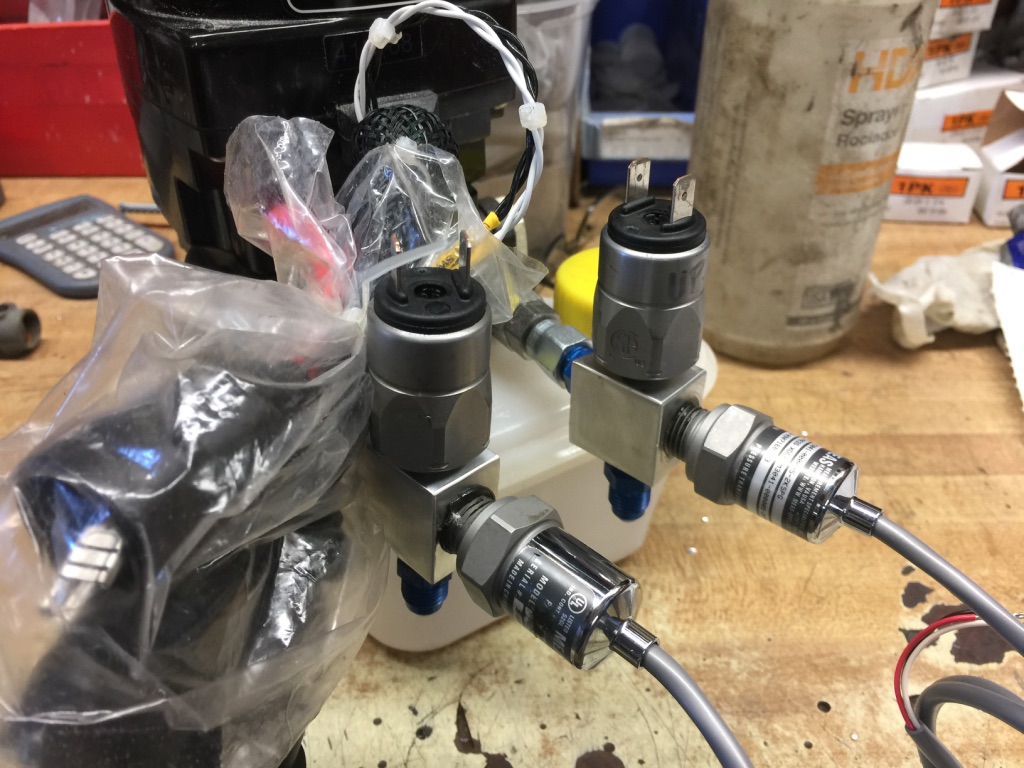
Sump Tank – Assembly, drilling/tapping, making mounting tabs
Mounting pad for batteries – nose compartment – and nose gear alignment guides
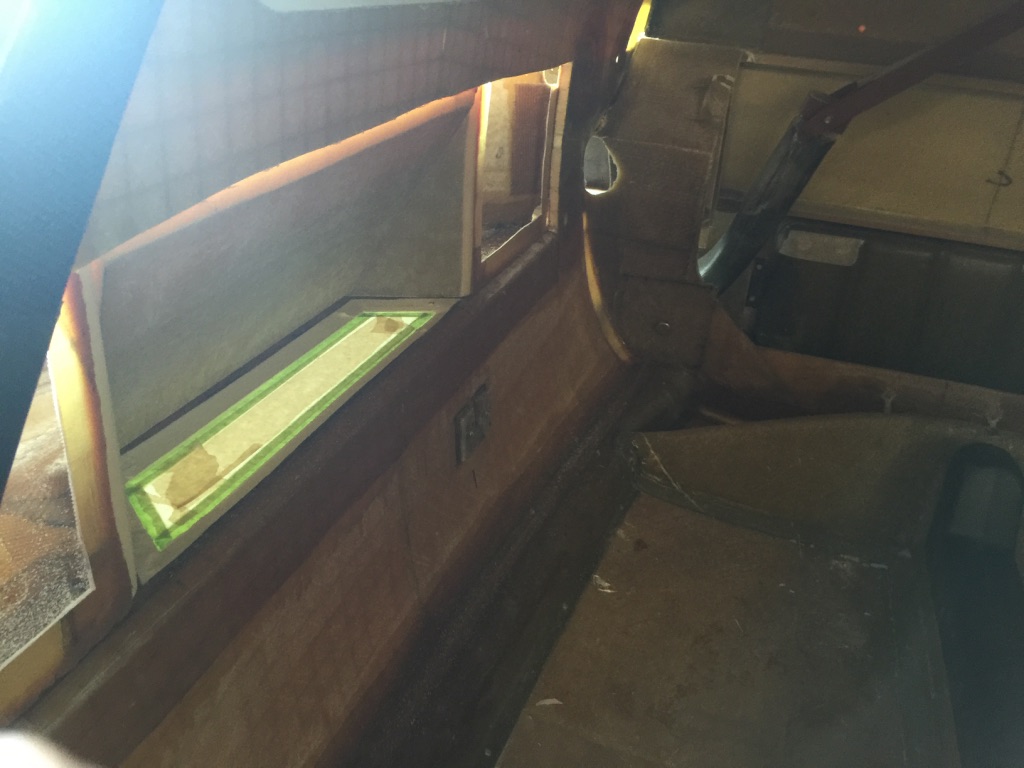
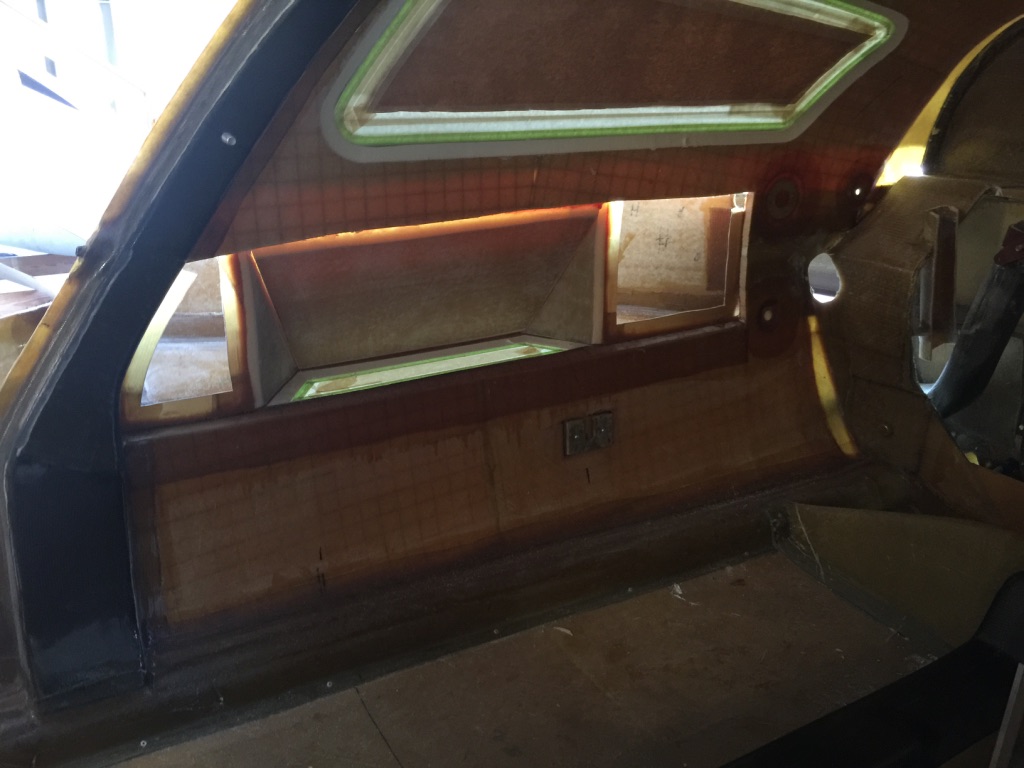
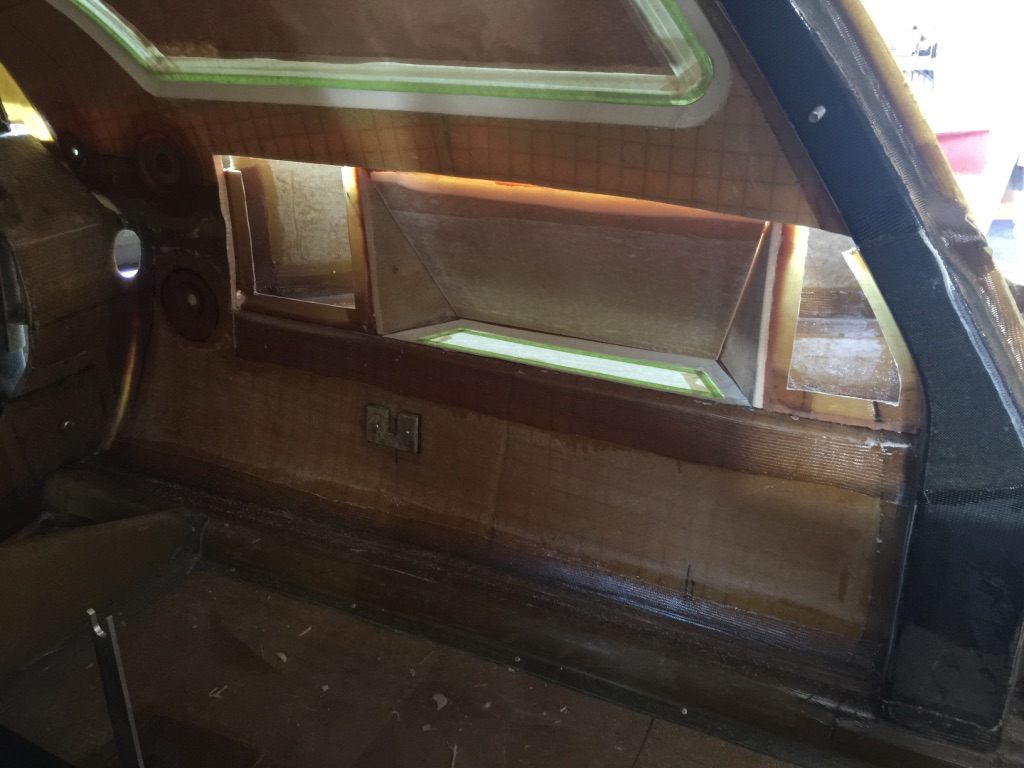
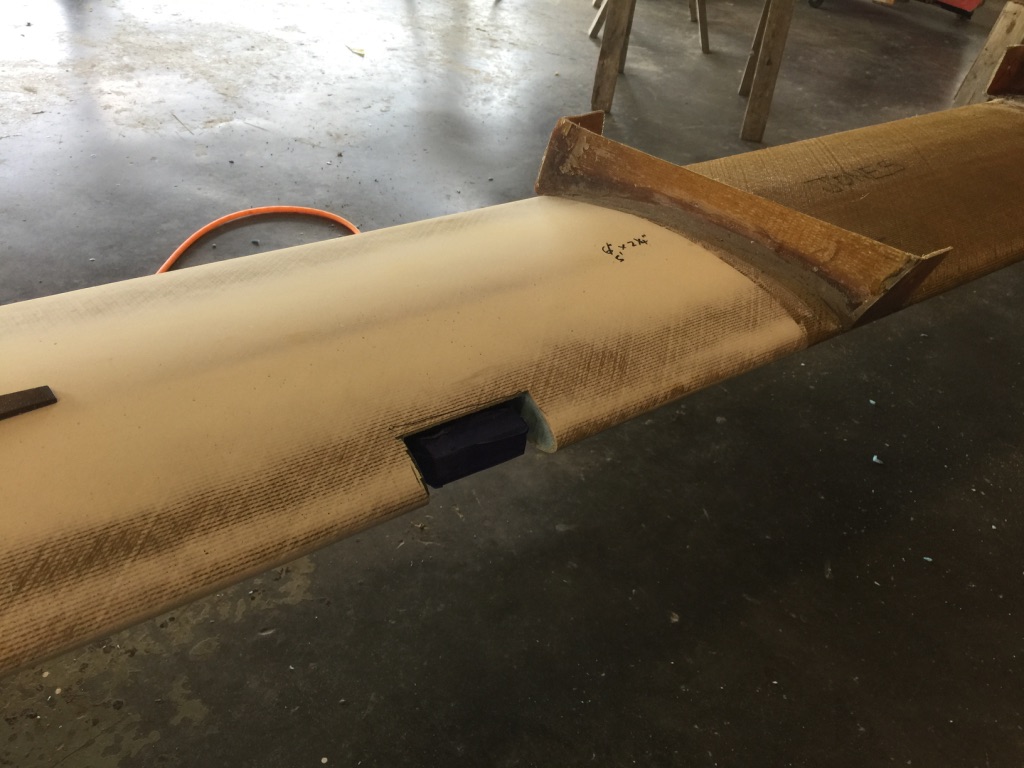
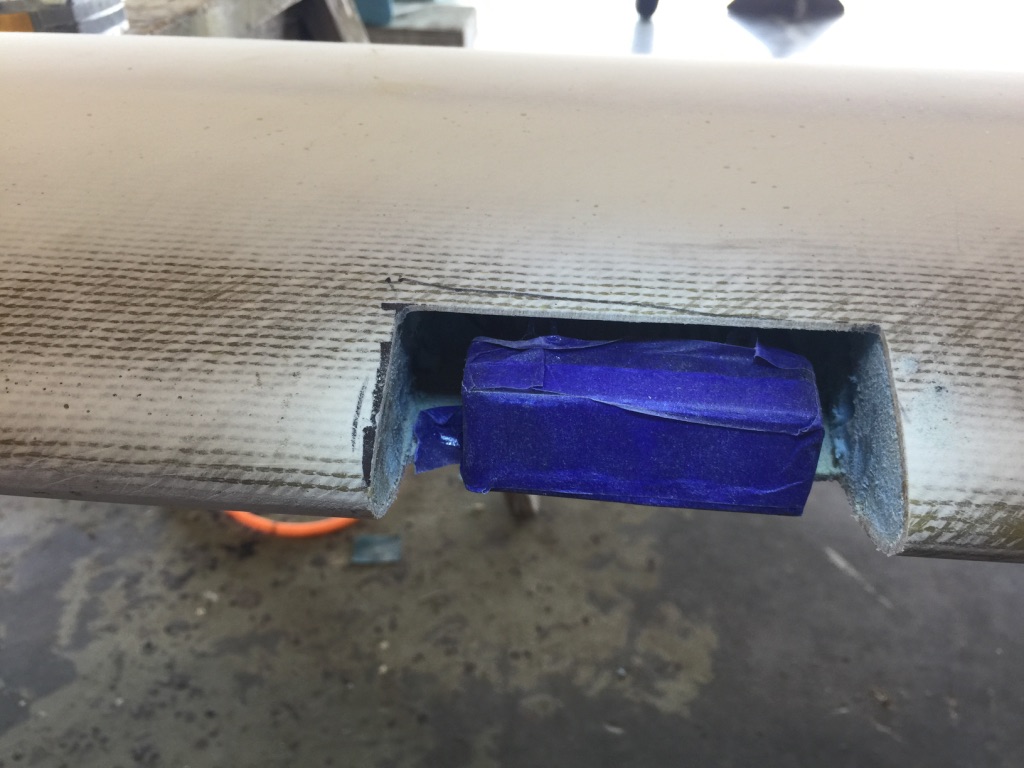
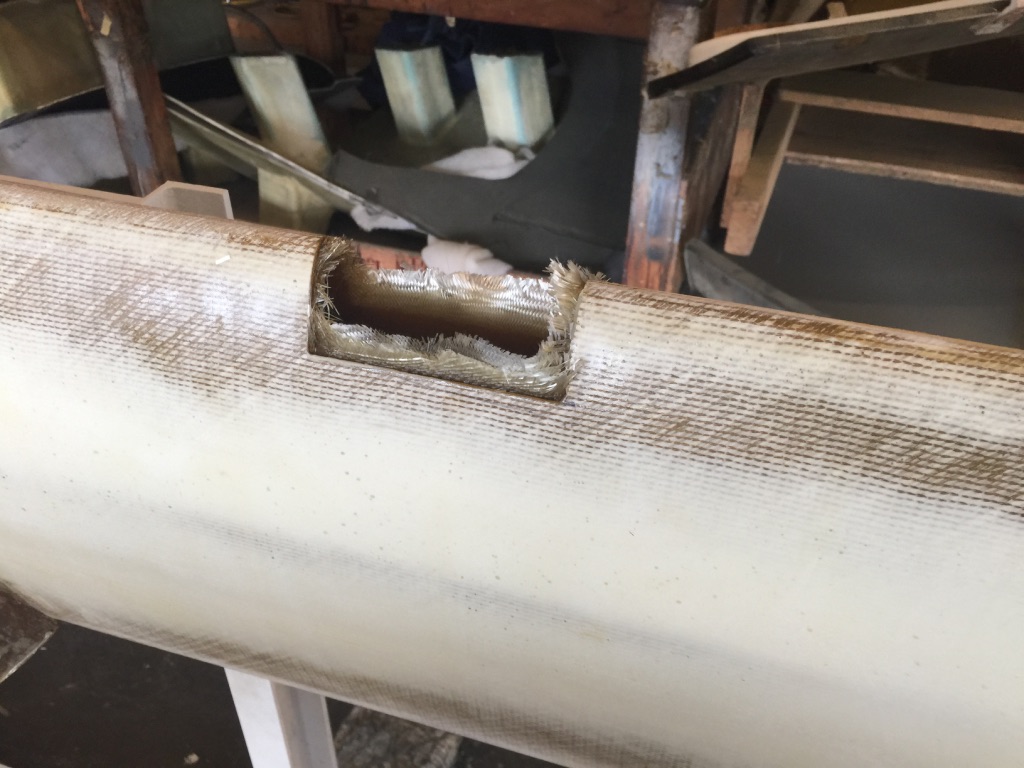
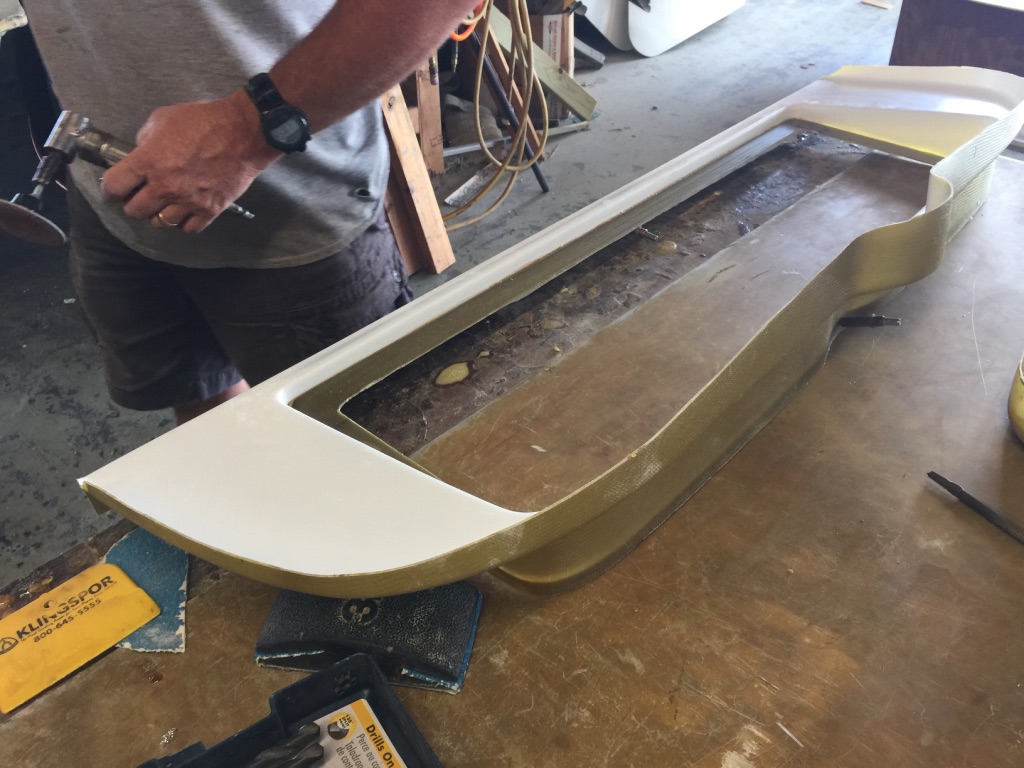
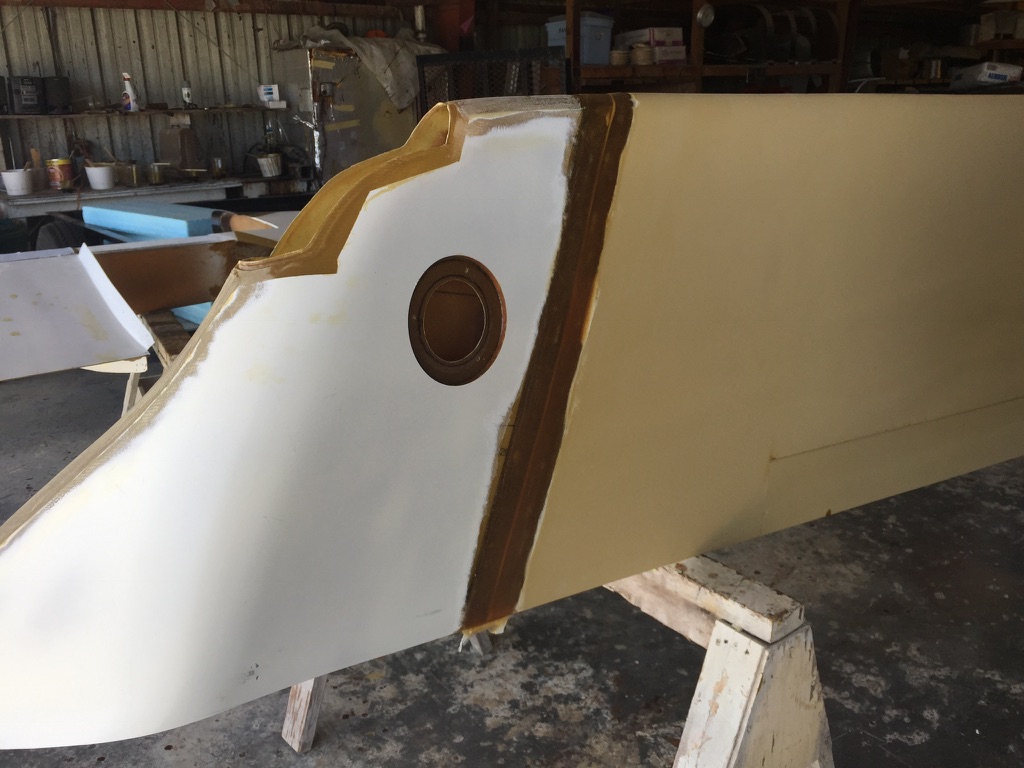
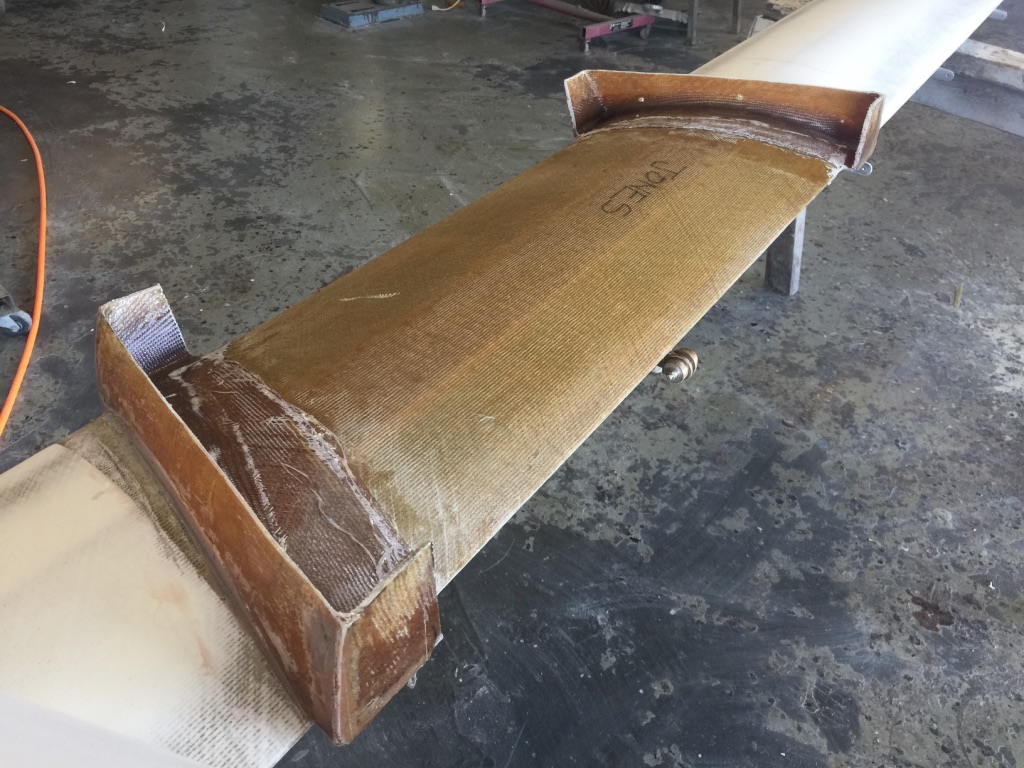
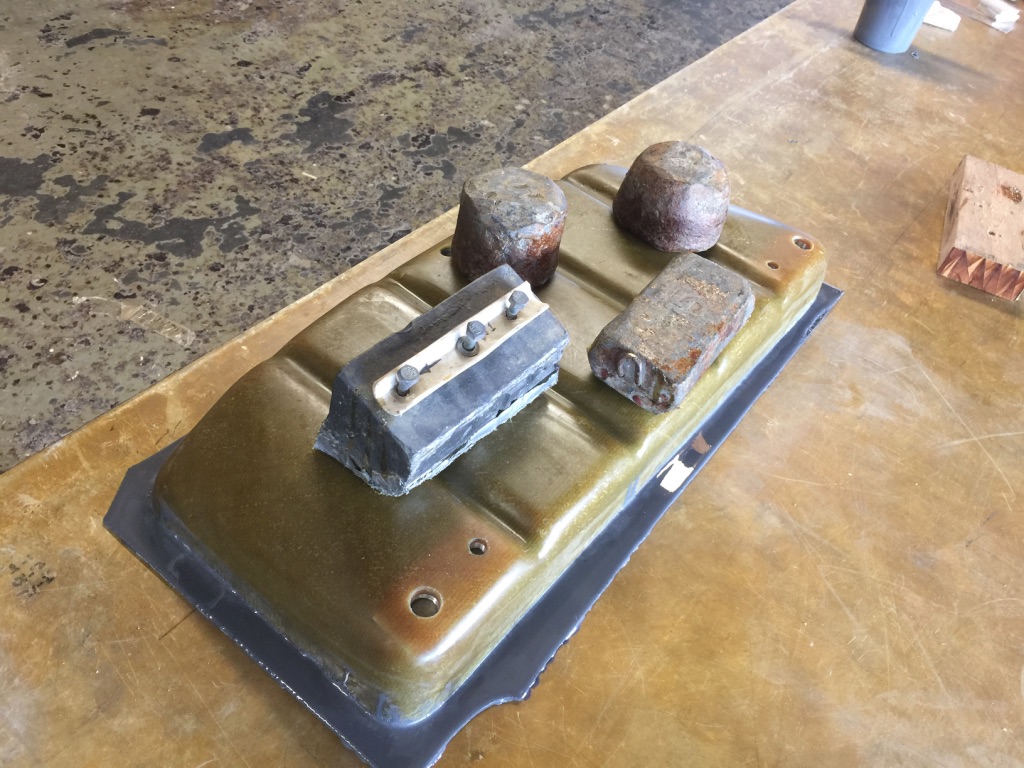
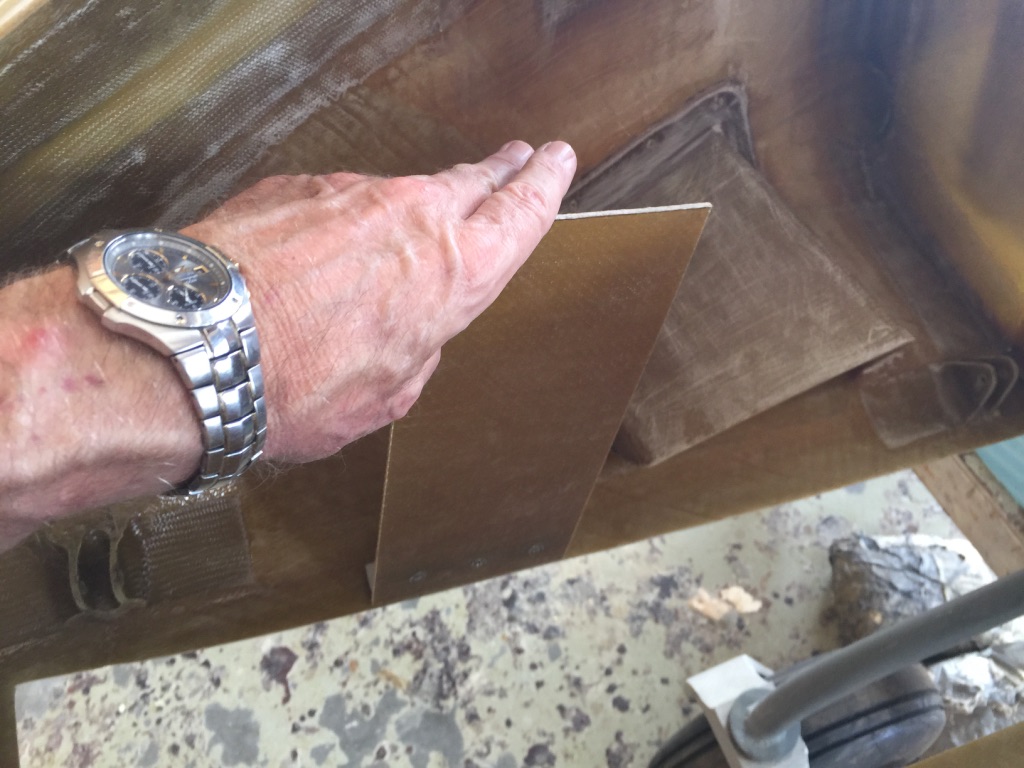
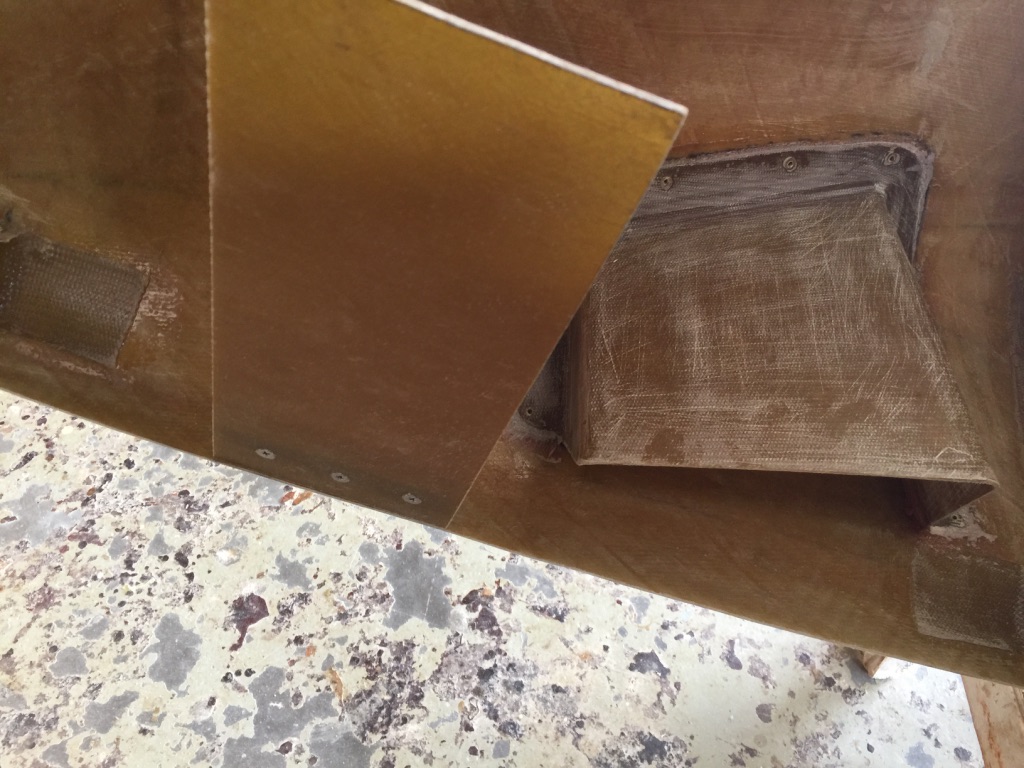
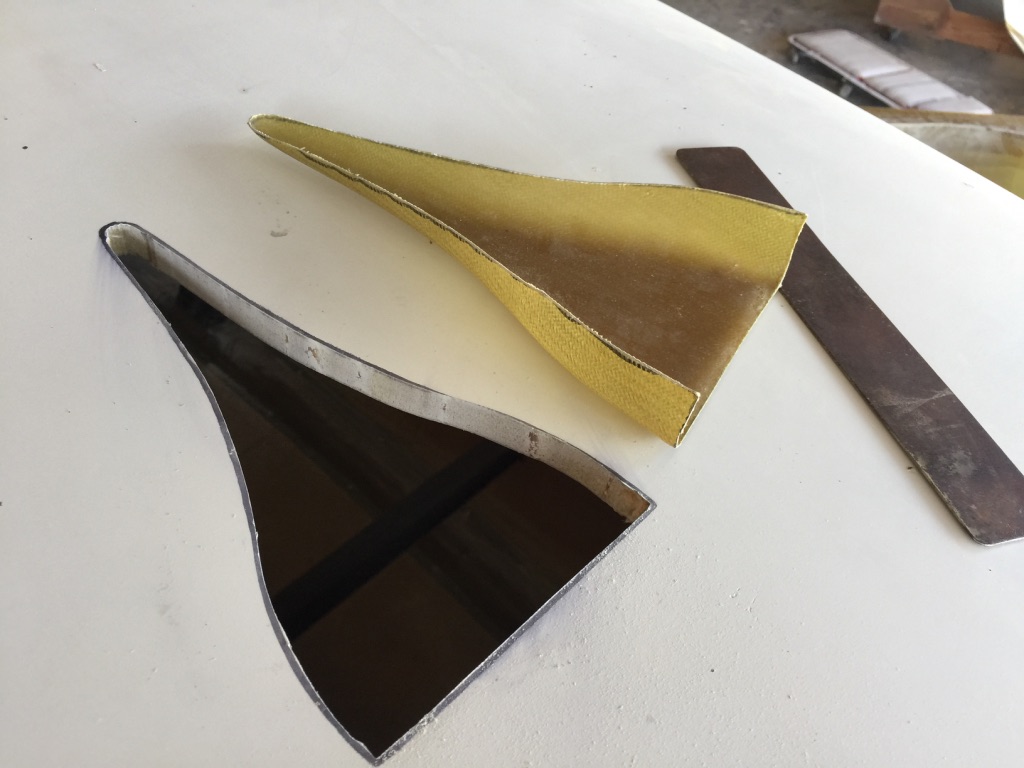
Arm rest/down view port project (another optional item that I chose to build).
This had to be designed and built before the fuel tanks were closed out.


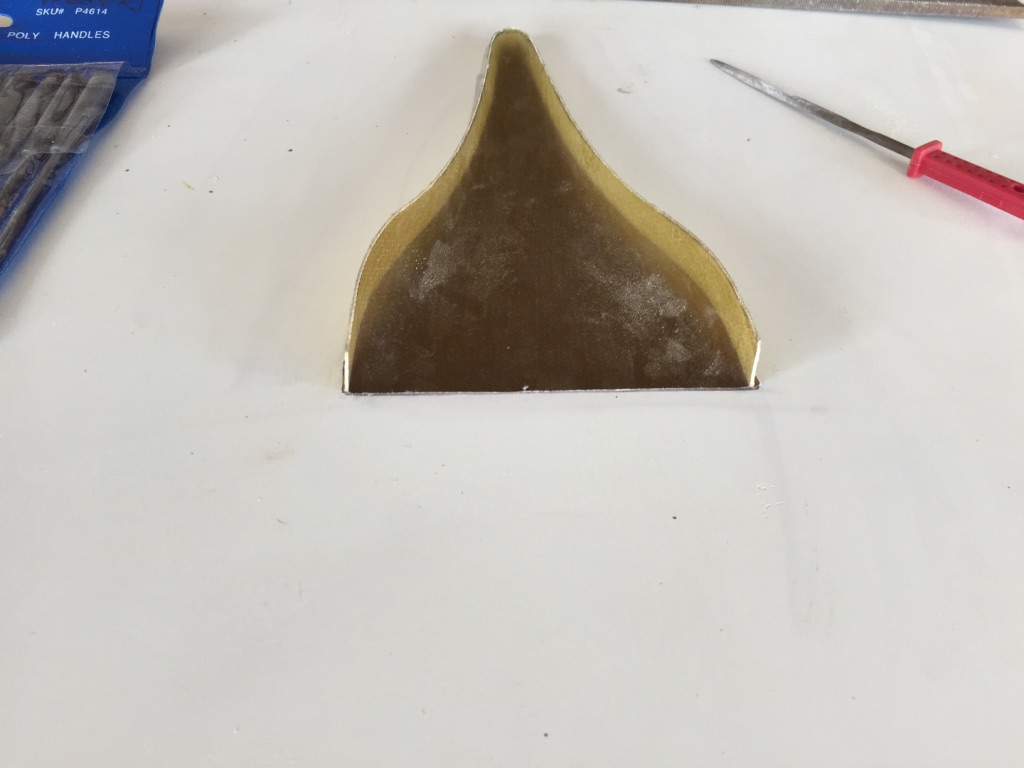
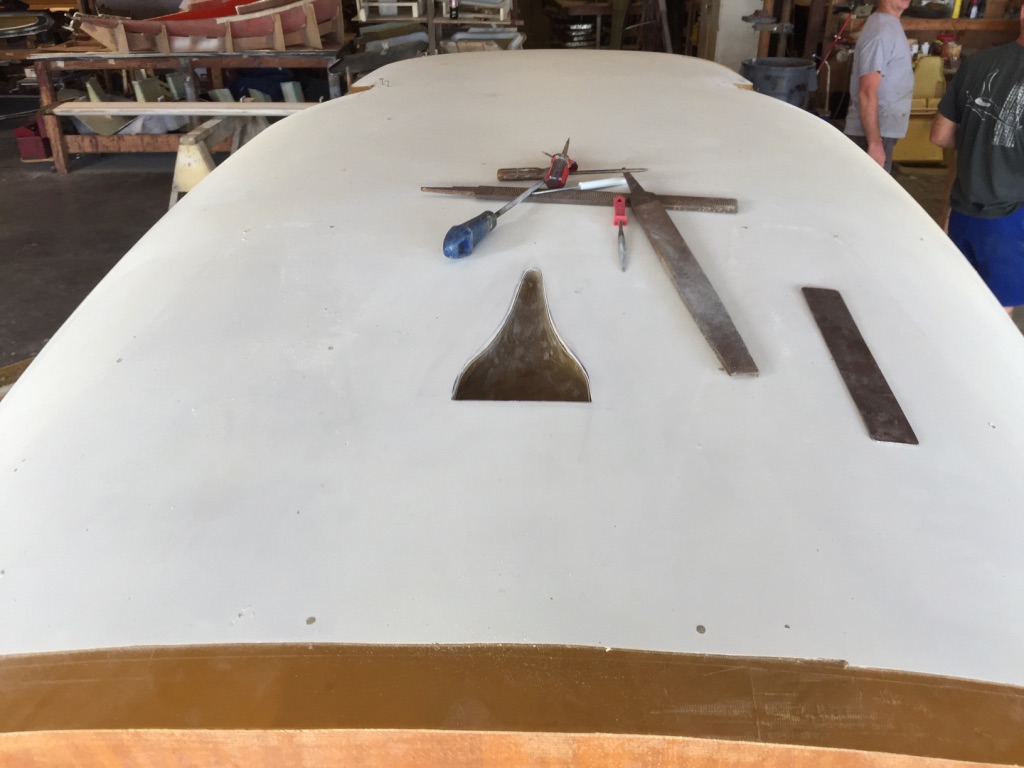
Fresh air NACA scoop on top of fuselage
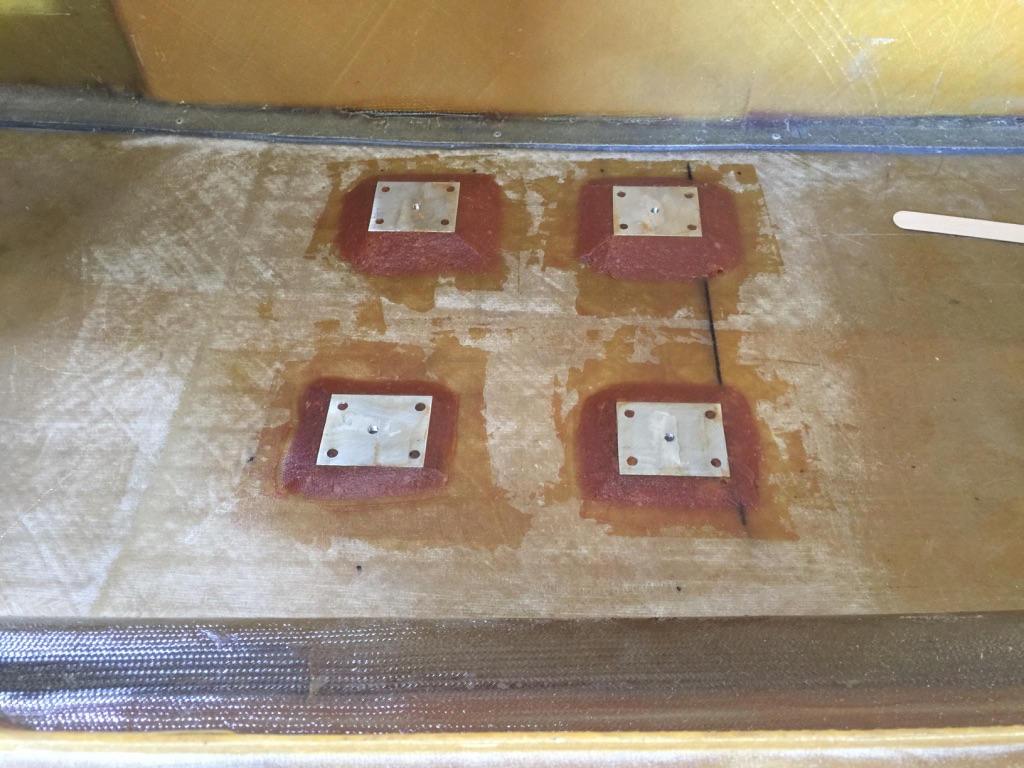
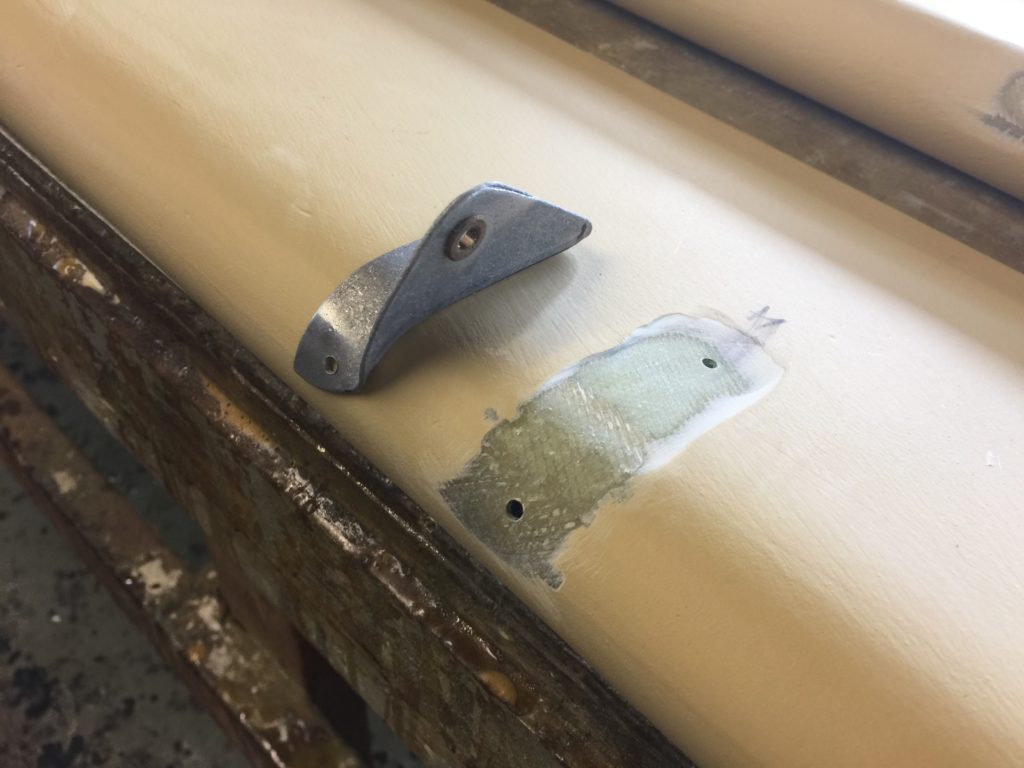
Hard points for mounting the front seats